

RetroShare is a decentralized, encrypted communication community. It has a safe on the spot messaging device, filesharing talents, discussion groups, and even its personal e mail system. The app is designed to defend your privateness as a way to talk with family and friends with out the worry of governments or companies spying on your information. On this information, we’ll go over how to set up RetroShare on Linux.
We’ll be overlaying the Linux platform on this tutorial of RetroShare. That mentioned, RetroShare additionally works on Mac OS, Home windows, Android, and even FreeBSD. For extra data on it for non-Linux platforms, click on here.
Notice: RetroShare is decentralized and personal. Nonetheless, for added safety, take into account working the RetroShare app alongside Tor on Linux. For data on how to set up Tor on Linux, head to the official website.
Putting in RetroShare on Linux
The RetroShare utility isn’t formally supported by any fashionable Linux working system. Because of this, you have to to manually set up this system earlier than logging in to the community.
To start out the set up, open up a terminal window on the Linux desktop. Then, observe the command-line directions outlined beneath that corresponds with the OS you presently use.
Ubuntu
To start out the set up on Ubuntu, you have to supply /and many others/os-release.
supply /and many others/os-release
Subsequent, use the wget command to obtain the discharge key to your system.
wget -qO - | sudo apt-key add -
Add the RetroShare software program repository to Ubuntu.
sudo sh -c "echo 'deb /' > /etc/apt/sources.list.d/retroshare_OBS.list"
Replace Ubuntu to make the brand new RetroShare software program repository usable.
sudo apt replace
Lastly, set up RetroShare on your system.
sudo apt set up retroshare
Debian
To, begin, use the wget command to obtain the RetroShare key file to Debian.
wget -qO - | sudo apt-key add -
Subsequent, add the RetroShare software program repository to the system.
sudo sh -c "echo 'deb /' > /etc/apt/sources.list.d/retroshare.list"
Run the replace command to make the brand new RetroShare repository usable.
sudo apt-get replace
Lastly, set up the RetroShare program on Debian.
sudo apt-get set up retroshare
Arch Linux
RetroShare is within the AUR. To get it working, enter the instructions beneath.
sudo pacman -S git base-devel

git clone
cd trizen
makepkg -sri

trizen -S retroshare
Fedora
Want to get RetroShare working on Fedora Linux? Begin by including the RetroShare software program repository to your system with the dnf command.
sudo dnf config-manager --add-repo= -E %fedora)/community:retroshare.repo
After including the brand new RetroShare software program repository, use the dnf set up command to get RetroShare working.
sudo dnf set up retroshare
OpenSUSE
Do you want to get RetroShare working on OpenSUSE? Begin by including the RetroShare repository by way of Zypper with the command beneath.
zypper addrepo -f retroshare
Subsequent, run the zypper refresh command.
sudo zypper refresh
Lastly, set up RetroShare
sudo zypper set up retroshare
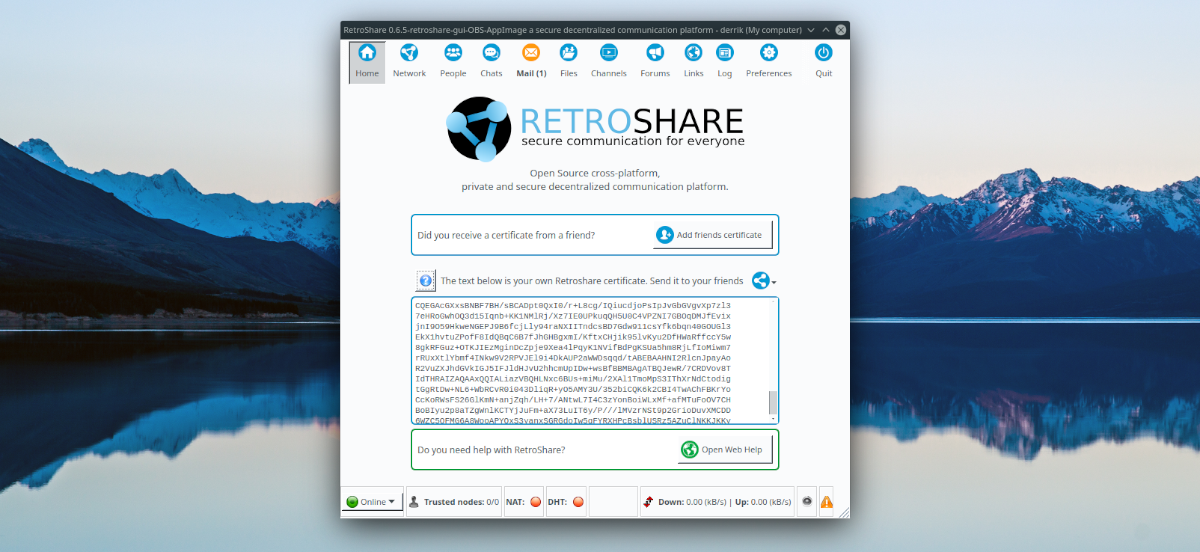
AppImage
RetroShare is offered as an AppImage for many who would not have working methods supported formally. To get it, enter the instructions beneath.
wget

chmod +x retroshare-gui-latest-x86_64.AppImage
Run the app with:
./retroshare-gui-latest-x86_64.AppImage
Or, double-click on the RetroShare AppImage within the Linux file supervisor.
Setting up RetroShare
To start out the setup course of for RetroShare, launch the app on your laptop. To launch RetroShare, seek for it in your app menu. Additionally it is potential to begin up RetroShare with the fast launcher (Alt + F2) by typing in retroshare.
As soon as the RetroShare utility is open and prepared to use, observe the step-by-step directions outlined beneath to find out how to get RetroShare up and working on Linux.
Step 1: You could create a brand new RetroShare node to use the appliance. To start out the creation course of, discover the “Username” field, and kind out a brand new username.


Step 2: After writing in a brand new username in your new RetroShare node, discover the “Password” field, and click on on it with the mouse. From there, write out the brand new password within the “Password” field. Ensure to use a safe password, however be sure that the password is memorable, as you want it to log into your RetroShare node.


Step 3: Re-write out your RetroShare password within the “Password again” field to affirm it.


Step 4: Transfer your mouse round till the final field has a inexperienced checkmark subsequent to it. You want to transfer the mouse to generate sufficient information in your node to be usable. Desire a actually safe RetroShare node? Transfer the mouse round until the final field is at 100%.


Step 5: Click on on the “GO” button to log into your new RetroShare node.


Including associates
To make use of RetroShare, you have to to know others that use it so you’ll be able to entry their nodes. To do that, discover the “People” button, and click on on it. From there, fill out your buddy’s node data to join.


As soon as your pals are related, you’ll be able to speak to them by clicking on “Chats” or “Mail.” You can too ship them information with “Files.”


