

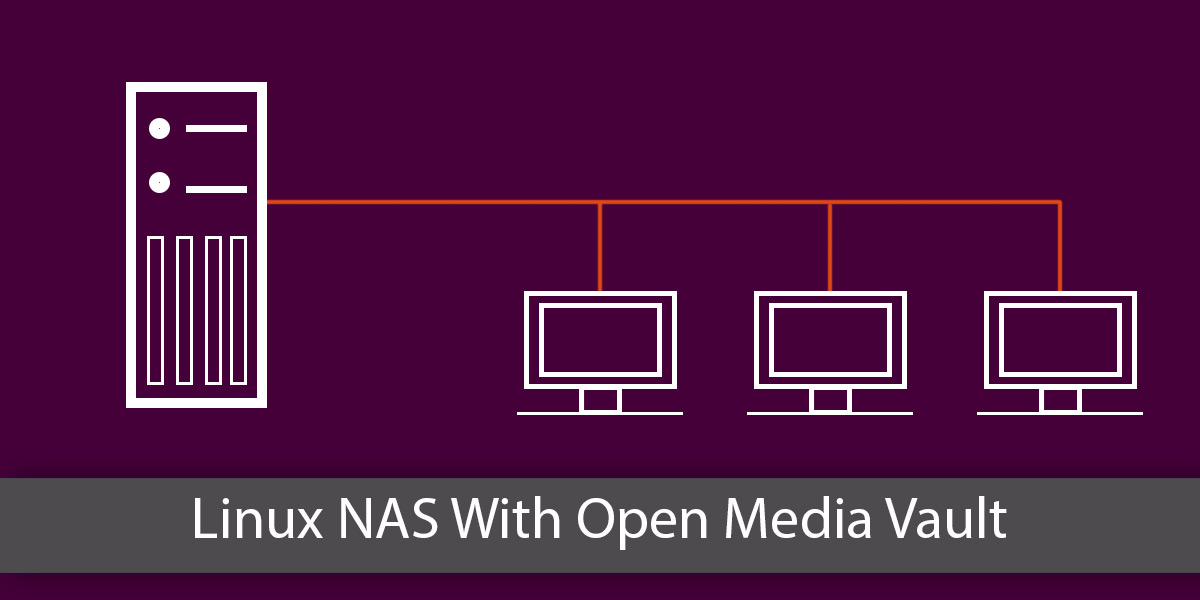
There are various the explanation why the common Linux person would possibly need to contemplate having a NAS of their house. With community connected storage, accessing, backing up and sharing knowledge turns into easy. On the subject of Linux, there are lots of several types of working methods to perform this process. Nevertheless, these on the lookout for ease of use want solely flip to Open Media Vault: a NAS distribution based mostly on Debian that prides itself on ease of use and comfort. Right here’s how one can construct you very personal Linux NAS with Open Media Vault.
To begin constructing a Linux NAS with Open Media Vault, that you must obtain the Open Media Vault disc image. As soon as downloaded, obtain the Etcher USB imaging instrument comply with the directions on the web page to make a bootable dwell disk (or burn it to a DVD or CD) from the Open Media Vault disc picture.
Putting in Open Media Vault
Load up the pc that might be used because the Open Media Vault NAS, and enter the BIOS. Inside the BIOS, change the bootloader in order that the USB (or DVD/CD) set up disk can load first.
Reboot the machine and the Open Media Vault set up instrument will load. Within the menu, choose ‘Install’, then press enter.
This brings the person to the Open Media Vault set up course of. Open Media Vault is mainly Debian Linux, with just a few issues like the online interface, and several other different packages added on prime.
The very first thing to type out, earlier than the overall set up is the language settings. Discover the language you converse, your nation, and every part alongside these traces. When set, Open Media Vault will detect the keyboard structure, and timezone.


Subsequent, choose a mirror for Open Media Vault to put in software program from. For people who don’t know: a mirror is an internet site that has an actual copy of every part {that a} Linux distribution wants.

If the principle web site goes down when downloading, it’s no large deal as a result of there are such a lot of mirrors. Throughout the mirror choice, discover a mirror deal with that’s closest to you geographically.
The software program supply is about, now let’s setup the person, hostname and password for OMV. Begin off by coming into the basis password for the system. Bear in mind, this password is the final line of protection for the NAS. Which means that if somebody is aware of what this password is, they’ll change every part. Greatest to set the basis password to one thing memorable, however troublesome to guess. Undecided tips on how to generate a adequate password? We suggest utilizing a safe password generator like Strong Password Generator.

With all the knowledge entered into the setup instrument, Open Media Vault will take it upon itself to partition every part, arrange a swap, set up the bootloader. Every little thing. Simply sit again and anticipate every part to complete putting in. The set up will take a while to finish.

When Open Media Vault finishes putting in, you’ll reboot, then see a black display screen with a URL to go to for administrative entry. Write this URL down, then open it in an online browser. Customers may modify the system on this console straight. Simply log in with the basis password set earlier.
Log into the online interface with:
username: admin
password: openmediavault
Utilizing Open Media Vault
Open Media Vault has loads of other ways to retailer and ship recordsdata. The principle ones are Samba (which works finest with Linux/Mac/Home windows networks),CIFS, NFS, and FTP. For many customers seeking to make a centralized storage resolution on the community with this working system, Samba will do. Right here’s tips on how to set it up.
First, within the net interface, search for ‘storage’ and click on on it. This can give an in depth checklist of all disk drives linked to the NAS. In case your Open Media Vault NAS has multiple onerous drive, use this checklist to format every onerous drive to EXT4, and mount them. If just one drive is current, the set up instrument can have already formatted and partitioned it forward of time and no configuration is required.

Discover SMB/CIFS within the sidebar, and click on on it. This can open a window with a number of tabs. For the common person, the settings tab wants one modification. Merely test the field that claims “enable”, after which click on save. Click on ‘Share’, after which ‘Apply’ when prompted. Then transfer onto the ‘shares’ tab.

Within the shares tab, click on the ‘+’ icon. This brings up a menu that can enable for the creation of a brand new shared community folder. Undergo the steps and fill out the mandatory info. As soon as all info is crammed, save and apply it.
Then, on Home windows, Mac, or Linux, go to the community browser, and entry the shared folder. The NAS reveals up with it’s hostname (given in the course of the set up course of) because it’s community identify. Inside it, the brand new shared folder will be accessible.
Conclusion
From its simple to make use of net controls, to its giant checklist of plugins that assist customers get inventive with their knowledge, Open Media Vault makes managing a house server a terrific expertise for the common Linux person.


