

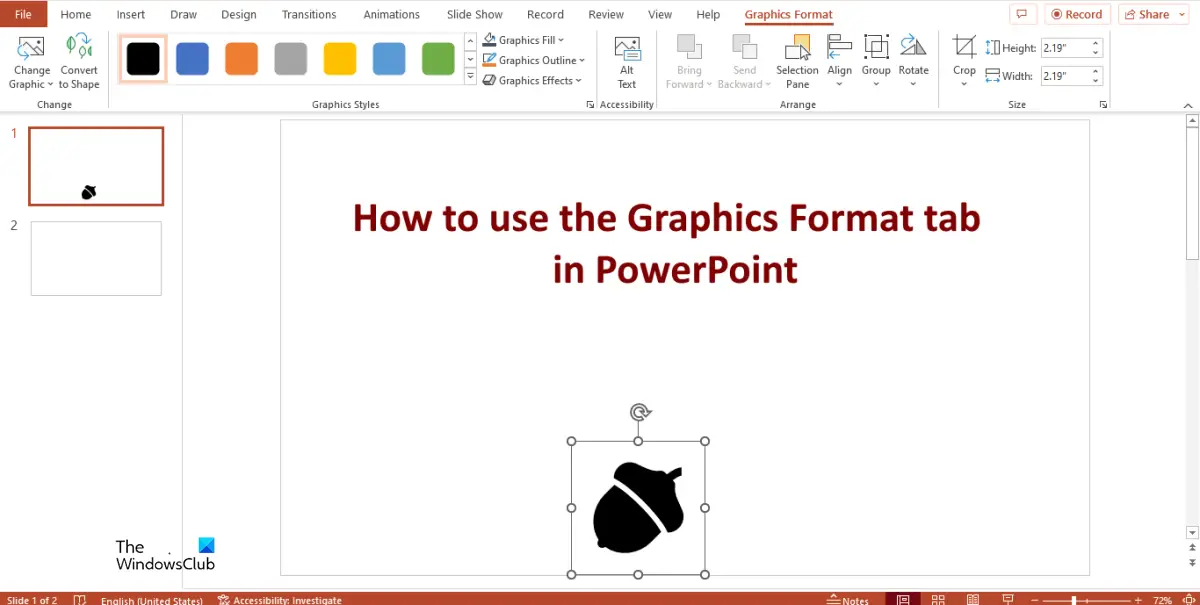
Microsoft PowerPoint is understood worldwide for shows, whether or not to present enterprise concepts or schoolwork. The Graphic Format tab is a tab that seems once you insert an icon from the illustration group into your PowerPoint slide. On this tutorial, we’ll clarify how to use the Graphics Format tab in PowerPoint.
How to use the Graphics Format tab in PowerPoint
WE will speak about utilizing the following options in the Graphics Format tab of PowerPoint:
- The Change Form characteristic.
- The Convert to form characteristic.
- The Graphic Types instruments.
- The Alt textual content
- The Carry Ahead and Carry Backward characteristic.
- The Choice Pane characteristic.
- The Align Objects characteristic.
- The group characteristic
- The Rotate button.
- The Crop buttons.
- The Peak and Weight buttons.
1] The Change Form characteristic
The Change Form characteristic modifications your graphic to a unique graphic, preserving its formatting and measurement.
Insert an icon into the slide and click on the Graphics Format tab.


Click on the Change Graphic button in the Change group, then select which choice you need to use to exchange the graphic.
2] The Convert to form characteristic
The Convert to form characteristic converts your graphics right into a form.

On the Graphics Format tab, click on the Convert to form button in the Change group.
3] The Graphic Types instruments
The Graphic Types instruments enable you to add kinds to your icon:


The Graphic Fashion gallery: Permits customers to add colourful outlines or colours to the icons.
Graphic Fill: Fill the chosen graphic with shade. Click on Graphic Fill and choose a shade.
Graphic Define: Permits customers to select a graphic define shade, width, and line type.
Graphic Impact: This enables customers to add visible results to the graphic in the slide.
4] The Alt textual content


The Alt textual content characteristic creates descriptions of graphics for display readers.
Click on on the Alt textual content button, and PowerPoint will routinely show an Alt textual content in the field.
5] The Carry Ahead and Carry Backward characteristic

Carry Ahead: Carry the chosen object ahead one degree or carry it in entrance of all objects.
Carry the graphic on one other graphic or form you need it to be on and choose the Carry Ahead button.
Carry Backward: Ship the chosen object again one degree or ship it behind all the different objects.
Click on the Carry Backward button to ship the graphic behind.
6] The Choice Pane characteristic
The Choice Pane permits customers to see an inventory of all their objects. This characteristic assist customers choose objects and alter their order or visibility.


Click on the Choice button and a pane will open on the proper.
You may click on the Cover All button on the Choice pane to conceal all the objects in the slide. To show the objects, click on the Present All button.
In order for you to conceal just one object or a couple of objects, click on the seen button adjoining to the object on the pane.
In order for you to stop an object from transferring, click on the lock icon adjoining to the chosen object.
7] The Align Objects characteristic.


Change the placement of your chosen object on the web page.
Click on the Align button and select an choice from the menu.
8] The Group characteristic
The group options group objects.

Choose each graphics by holding down the Shift key on the keyboard, then click on Group in the Organize group and choose Group from the menu.
In order for you to ungroup the graphics, choose Ungroup from the Group menu.
9] The Rotate button
Rotate or flip the chosen object.

Choose a graphic, click on the Rotate button and choose an choice from the menu.
10] The Crop button

Crop the image to transfer away any undesirable areas. The Crop characteristic consists of Crop, Crop to Form, Side ratio, Fill and Match.
11] The Peak and Weight buttons

These buttons enhance or lower the peak or weight of the graphic.
We hope you perceive how to use the Graphic Format tab in PowerPoint.
What are graphics on PowerPoint?
Graphics are something that isn’t an image. Graphics might be icons, shapes, and SmartArt. PowerPoint has options that may customise your graphics, whether or not it’s in the Form Format tab or the Graphic Format tab.
Why are graphics essential in a presentation?
Graphics are essential in PowerPoint as a result of it makes your presentation extra interesting and simpler to perceive, as an example, utilizing graphics similar to SmartArt to create an Group Chart. Visuals transmit data to your viewers sooner than phrases.
READ: How to crop photos utilizing Microsoft PowerPoint
How do I view graphics in PowerPoint?
If individuals need to insert graphics into their slides, comply with the process beneath:
- Click on the Insert tab.
- You may choose any of the graphics in the illustration group that you really want to use on your presentation, similar to Icons, Shapes, 3D Fashions, SmartArt, or Charts.
READ: Take away Textual content field and convert it to Dotted Body in PowerPoint.


