

Ubuntu Linux has a singular desktop surroundings. It has a dock on the left aspect with shortcut icons in it, and a panel on the high of the display the place customers can entry issues like WiFi, audio controls, and many others. General, it’s a considerably distinctive, user-friendly setup. The nice Ubuntu desktop setup is helpful, but it surely’s not for everybody. Fortunately, Ubuntu is Linux and has dozens of different desktop environments to make use of as a replacement. Right here’s set up and check out totally different desktop environments on Ubuntu.
KDE Plasma


KDE Plasma is the primary different to Ubuntu’s Gnome Shell desktop surroundings. It’s bought among the similar wonderful graphical results, and choices for customers to make the most of. Nonetheless, in contrast to the Ubuntu Gnome Shell, it makes use of a extra conventional Home windows-like expertise.
Because of how Ubuntu works, it’s simple to remodel any conventional Ubuntu Gnome Shell desktop into a completely useful Kubuntu setup. To begin the transformation, you’ll must open up a terminal window and set up the Kubuntu Desktop meta-package.
sudo apt set up kubuntu-desktop -y
In the course of the set up, Dpkg will detect that the Kubuntu meta-package is attempting to arrange the KDE desktop supervisor, fairly than sticking with the one that’s already arrange. Within the terminal, look out for a purple dialog field. This dialog field will ask you to decide on between the KDE desktop supervisor or the Gnome one.
Utilizing the arrow keys, spotlight the “SDDM” possibility and press the enter key in your keyboard.
When the Kubuntu set up is full, reboot your Ubuntu PC. When it begins again up, you’ll discover that the normal Ubuntu loading display is now a Kubuntu loading display.
On the SDDM menu, Kubuntu needs to be the default. If it’s not, search for “session” and set it to Kbuntu. Then, enter your person particulars, and KDE Plasma is able to use!
XFCE4


The Ubuntu Gnome setup is gorgeous, however that magnificence comes at the price of person efficiency. In the event you’ve not too long ago put in Ubuntu in your PC solely to seek out out that the desktop isn’t responsive sufficient and utilizing an excessive amount of reminiscence, don’t surrender on it! As an alternative, it’s a good suggestion to change to one of many light-weight different desktops that Ubuntu has to supply, just like the Xubuntu XFCE4 desktop.
To be clear, XFCE4 isn’t the one light-weight desktop surroundings. Nonetheless, it is likely one of the finest choices for these on outdated PC’s. To set up it, you’ll want the Xubuntu desktop meta-package. This bundle will pull in XFCE4, together with the entire different important applications and instruments it makes use of.
sudo apt set up xubuntu-desktop -y
Let the Xubuntu desktop set up and when the set up course of finishes, reboot your Ubuntu PC. Because it begins up, you’ll discover that the normal Ubuntu loading display is now a Xubuntu one.
On the login display, discover “session.” Within the session menu, choose “Xubuntu” and log in to be greeted with Xubuntu.
LXQt


LXQt is a particularly light-weight desktop surroundings that’s extremely customizable and constructed with the newest Qt applied sciences. On Ubuntu, this expertise is definitely accessible by utilizing Lubuntu.
The Lubuntu model of Ubuntu, apart from having LXQt, comes with slim alternate options to your favourite applications discovered within the conventional Ubuntu setup. In the event you’re desirous about attempting it out, seize the newest Lubuntu meta-package.
sudo apt set up lubuntu-desktop -y
Putting in the Lubuntu desktop meta-package will pressure you to decide on between the default Gnome Show Supervisor (GDM), or the one generally used with Lubuntu (SDDM).
Within the terminal, choose “sddm” to inform Ubuntu to make use of the Lubuntu desktop supervisor any more. As soon as that’s setup, reboot your Linux PC. Because it comes again on, discover “session” in SDDM, choose “Lubuntu,” or “LXQt.”
Upon login, it is best to see your new Lubuntu setup!
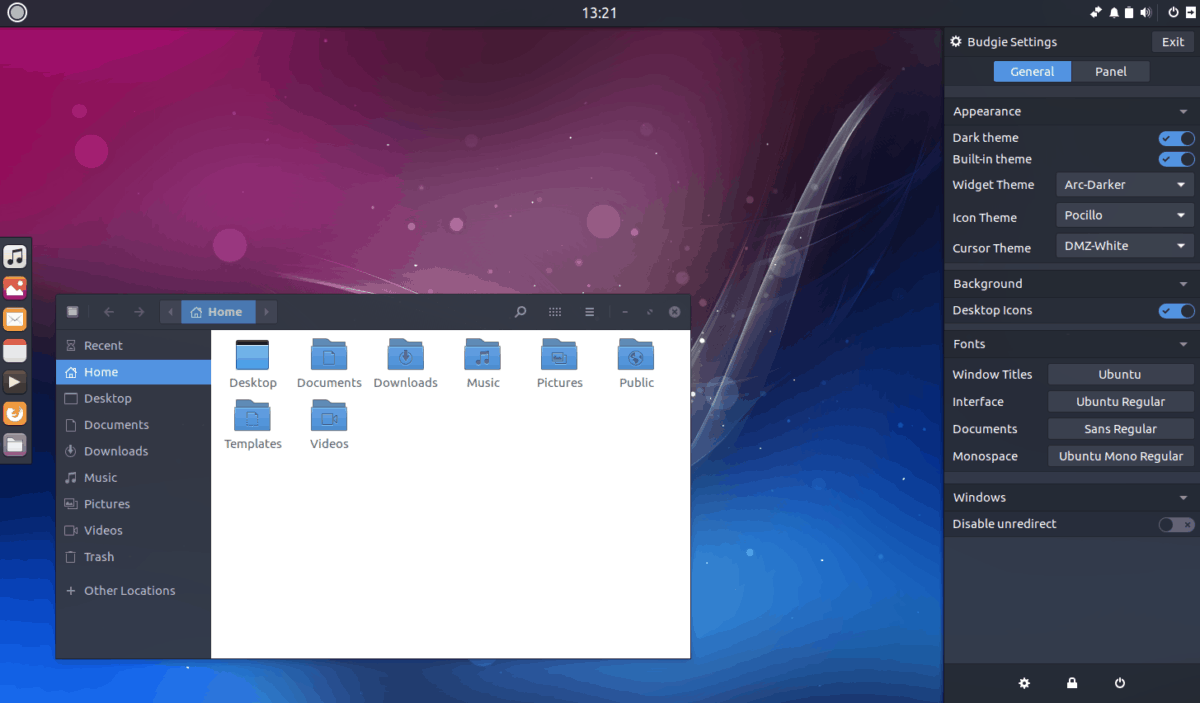
Budgie


The Budgie Desktop is synonymous with Solus, because it’s the Linux challenge that primarily works on it. With that mentioned, there may be an Ubuntu taste that makes use of it because it’s major desktop surroundings.
Budgie is born of Gnome Shell, so it performs equally. Consequently, customers can take pleasure in a Gnome-like expertise, whereas having fun with a extra conventional, Home windows-like format.
In the event you’re itching to change to the Budgie desktop surroundings on Ubuntu, you’ll want to put in the Ubuntu Budgie meta-package.
sudo apt set up ubuntu-budgie-desktop -y
Budgie works superb alongside Gnome, so it’s okay to stay with Ubuntu’s default of GDM. That mentioned, the builders favor to make use of it with LightDM.
To swap to LightDM, choose the “lightdm” within the terminal immediate when it comes up.
After putting in the Ubuntu Budgie meta-package, restart your PC. When it comes again from the restart, enter your person particulars and log in. Remember the fact that in the event you selected to make use of GDM, you’d must click on “session” then “Ubuntu Budgie” or “Budgie” earlier than logging in.
Mate

The Mate Desktop surroundings is an effort to protect the outdated Gnome 2 desktop from years previous. Regardless of this, it’s a really fashionable, environment friendly desktop surroundings and is ideal for customers who don’t care about fancy results and must get work performed.
Mate is in every single place on each mainstream Linux distribution. On Ubuntu, customers can simply entry it by putting in the Ubuntu Mate meta-package.
Like the entire different desktop meta-packages, putting in the Ubuntu Mate one will pull in all the pieces from the Mate core elements, to applications, and all the pieces else.
Get Ubuntu Mate going by working the next command in a terminal window.
sudo apt set up ubuntu-mate-desktop -y
Ubuntu Mate, like many others, makes use of LightDM, fairly than what the default Ubuntu setup makes use of, so you should definitely choose “lightdm” in the course of the set up course of.
When the installer finishes, reboot your PC. When it comes again up, click on the session icon, choose Mate, and log in to take pleasure in your new Ubuntu Mate setup!


