

Are you organising Ubuntu on a new computer? Making an attempt to work out how to deliver your whole configurations, settings, and information to the new PC from the previous one? Uncertain about how to do it? We might help! Observe together with this information as we present you ways to transfer your Ubuntu user to a new computer!
Earlier than we start
For those who’re not sure of how to transfer your Ubuntu user to a new computer, you might not be conscious of how the working system handles your user. All the pieces pertaining to your Ubuntu user is saved within the “home” listing. So, so as to migrate your whole settings and information to the new computer, we should transfer this folder.
On this information, we’ll concentrate on one methodology for shifting the Ubuntu user folder: the Nitroshare file transfer device. Why? It’s straightforward to perceive and use to transfer information, even in case you are not acquainted with Ubuntu.
Transferring your Ubuntu user with Nitroshare
Nitroshare is a lightning-fast transfer device that works on Linux. It’s good for shifting Ubuntu user information from one computer to one other. To get began with the app, you could set up it in your Ubuntu PC.
To begin the set up, open up the Ubuntu Software program Heart on the desktop. From there, find the search field, and sort in “Nitroshare.”
When you’ve situated “Nitroshare,” discover the “Install” button and click on it. Alternatively, launch a terminal window on the desktop with Ctrl + Alt + T or Ctrl + Shift + T on the keyboard and enter the set up command under to get it arrange.
Word: On the Gnome Shell desktop and the Ubuntu Gnome desktop, you will have to set up TopIcons Redux to entry Nitroshare within the system tray. To put in it, click on here.
sudo apt set up nitroshare
With the Nitroshare utility put in in your previous computer, launch it by trying to find it within the app menu. Then, observe the step-by-step directions under to learn the way to transfer your Ubuntu user to a new PC!
Step 1: Make sure that Nitroshare is put in and open on the new Ubuntu PC in addition to the previous one you’re utilizing to transfer information.
Step 2: Learn the Nitroshare splash display screen that seems as soon as the app opens. Then, discover the “Close” button and click on it to shut it.
Step 3: Discover the Nitroshare emblem within the system tray and right-click on it to entry the choices. Click on on the “send directory” button and click on on it with the mouse.


Step 4: Use the file browser to find your username folder on the left. Then, as soon as inside your username folder, discover the “up” button to transfer up a stage into the “home” listing.
Step 5: Within the “home” listing, you will note a sub-folder together with your username. This folder incorporates your whole Ubuntu user information. Choose the folder with the mouse. Then, choose the “Choose” button to choose it for importing.


Step 6: Instantly after selecting your username folder within the Nitroshare app, you will note a pop-up window seem on the display screen. This pop-up window says “Select Device.”


Look via the “Select Device” pop-up window and click on on the new computer operating Nitroshare, which you may be transferring your folder to. Then, choose the “OK” button to start the transfer course of.
Step 7: The transfer course of will take a very long time, relying on how giant your username folder is. Be affected person. When the method is full, go to the new computer and open up the file supervisor.
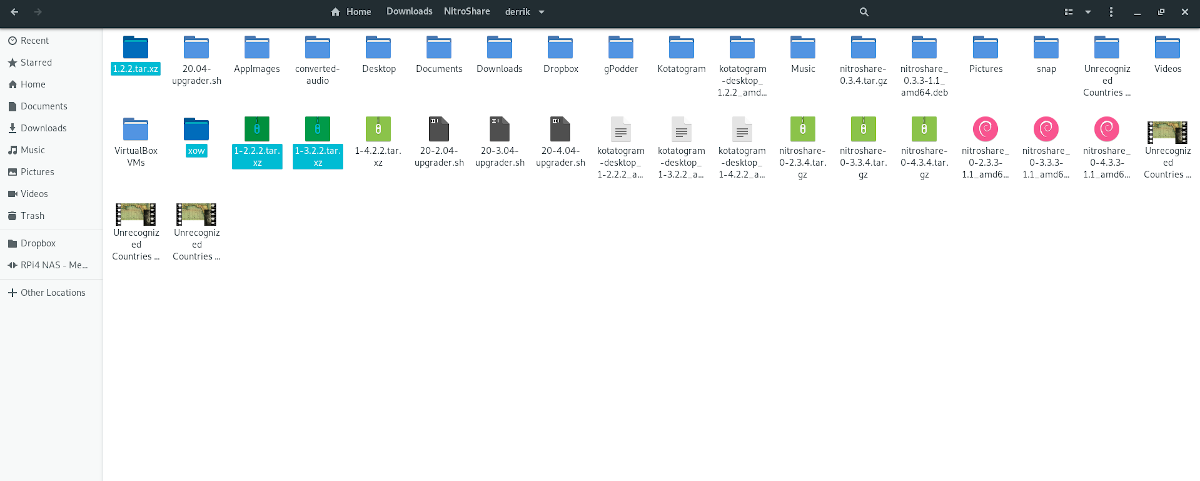
Step 8: Within the file supervisor in your new computer, click on on the “Downloads” listing. Within the “Downloads” listing, you will note a folder with the title of “Nitroshare.” It holds the entire information out of your previous PC.


Choose the “Nitroshare” folder with the mouse to entry it.
Step 9: Look via the Nitroshare folder to your username folder. When you’ve discovered the username folder, choose it with the mouse to entry it.


Establishing your information
Now that your username folder is on the new computer observe the step-by-step directions under to arrange the information out of your previous PC on it.
Step 1: Look via the username folder for information and folders you’d like to add to your new PC and choose them with the mouse.
To pick a number of information or folders without delay, maintain down Ctrl whereas clicking.


Step 2: Press Ctrl + C to make a copy of the information/folders to the clipboard.
Step 3: Within the file supervisor, find the “Home” folder, and click on on it with the mouse.
Step 4: Press Ctrl + V on the keyboard to paste the information from the previous username folder into your new house folder.
When completed copying your whole information and folders out of the previous username listing, be happy to delete the “Nitroshare” folder in “Downloads.”


