

Linux has dozens of screenshotting instruments. These instruments have totally different options and permit customers to rapidly take photos of what they see on their desktop, reserve it in several codecs, and share it with buddies. The bother is, most of those screenshot instruments are bloated GUIs that don’t all the time work. When you’re uninterested in GUI screenshot instruments that don’t all the time do their job, the Scrot screenshot software could also be simply what you want. It enables you to take screenshots from the Linux terminal and saves you the difficulty of going by means of a GUI.
Set up Scrot


The Scrot software is fairly well-known, and many individuals use it to take screenshots, particularly on light-weight desktop environments like LXQt, or with tiling window managers like AwesomeWM, i3, and others. To set up the software program, open up a terminal window and comply with the command directions that correspond along with your Linux working system.
Be aware: you could be working Ubuntu, Debian, Arch Linux, Fedora, or OpenSUSE to run Scrot. When you’re not on certainly one of these Linux distributions, you might must compile from supply.
Ubuntu
sudo apt set up scrot
Debian
sudo apt-get set up scrot
Arch Linux
sudo pacman -S scrot
Fedora
sudo dnf set up scrot -y
OpenSUSE
sudo zypper set up scrot
Generic Linux
The Scrot screenshotting software is without doubt one of the finest terminal functions that may take screenshots of what’s taking place on the Linux desktop. In consequence, many distributions — even obscure ones distribute it of their software program sources. That stated, when you’re not capable of finding an installable bundle, constructing the code from supply is the following neatest thing.
For no matter purpose, the web site that hosts the downloadable packages for Scrot is down. Fortunately, because of Archive.org, it’s doable to obtain the code regardless. In a terminal, use the wget command and seize the Scrot sources.
wget
Extract the Scrot supply code to your Linux PC utilizing the tar command.
tar -xvzf scrot-0.8.tar.gz
Transfer into the code folder with CD and skim the README file utilizing cat.
cd scrot-0.8

cat README
The README file outlines learn how to construct the code, however doesn’t embody any details about the dependencies you’ll probably want for a profitable construct surroundings. Begin the construct by working the configure script. This script will scan your Linux PC for the right dependencies. When you’re lacking any, it’ll let you know what to put in.
./configure
The configure command will solely end when you’ve received all the dependencies up and working. If the configure script finishes, construct the Scrot software program.
make
The make command will compile every thing fairly rapidly, as Scrot isn’t a big piece of software program. When the method is full, end up by putting in it into the system.
su -c "make install"
Utilizing Scrot
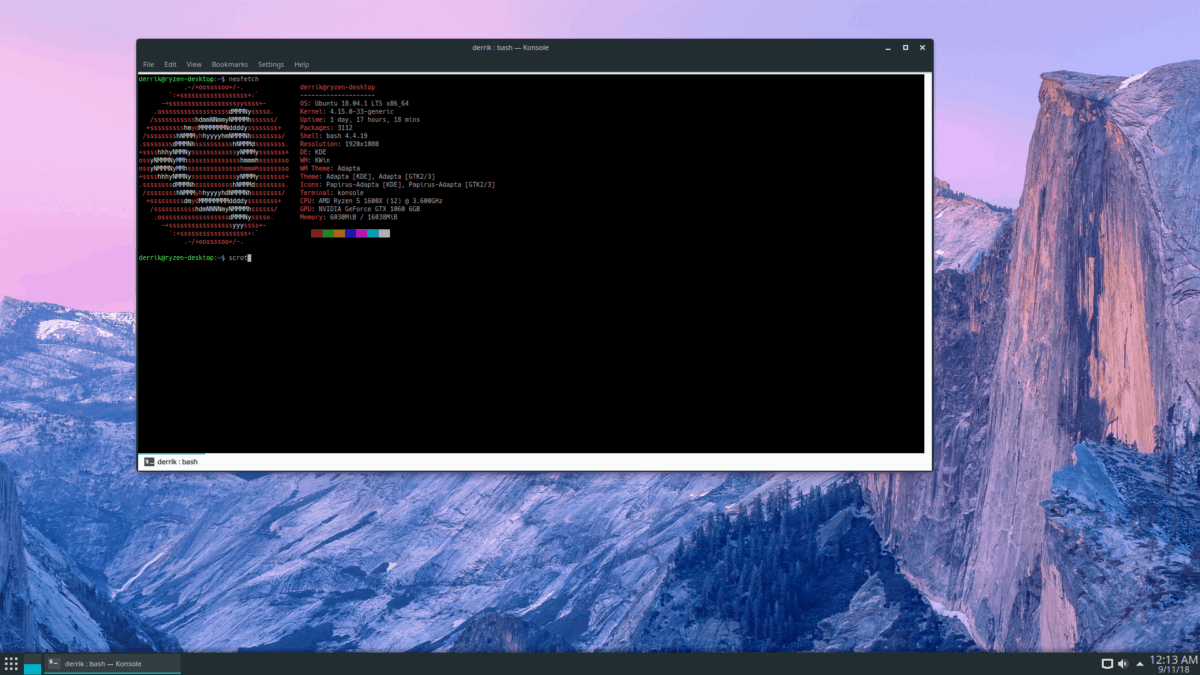
Scrot is a terminal utility, so to take a screenshot, you’ll must have fast entry to a terminal. Open up a terminal and use the next command to take a screenshot of what’s in your display.
scrot
When you run the command above, your screenshot will find yourself in /dwelling/username/. The screenshot is immediate, and also you’ll get no suggestions in regards to the screenshot you simply took. Need one thing a bit of extra user-friendly? Strive the “c” change. Including the “c” change to scrot will print out a countdown timer. The timer characteristic is useful, because it makes the consumer extra conscious of when the screenshot occurs.
scrot -c
Need to enhance the countdown in Scrot additional? Check out the “d” change. It lets customers specify (in seconds) when Scrot ought to take the shot.
Be aware: change X along with your desired quantity.

scrot -cd X
The Scrot screenshot software lets customers take a screenshot of the present window in focus by the use of the “z” change. To use it, do:
scrot -cd X -z
Or, when you favor to not use a timer, strive the next command.
scrot -z
An extremely helpful characteristic that plenty of screenshotting instruments on Linux have is their means to take screenshots of particular person rectangular areas of the desktop. The Scrot screenshot characteristic additionally has this means, and it’s accessible through the “s” change.
scrot -cd X -s
To take a screenshot of a selected area with no countdown do:
scrot -s
Save Scrot Choices
The Scrot screenshot software has plenty of choices, switches, and options. When you’re a beginner, these totally different choices could also be onerous to recollect. Whereas it’s fairly straightforward to make use of the “h” change, it’s a lot better to avoid wasting the assistance directions to a textual content file for later.
To save the Scrot choices for later, you’ll must run the “h” change possibility by means of the redirect command.
scrot -h >> ~/Paperwork/scrot-options.txt
At any time, you may open up the Scrot doc file you’ve saved for later by launching the file supervisor, clicking on “Documents” and searching for “scrot-options.txt.”


