

There are various totally different desktop environments to select from on Arch Linux. A brand new addition to the lineup is the Deepin desktop. It’s the desktop part of an unbiased Linux distribution which makes heavy use of Ubuntu. The major goal of this Linux desktop is to make issues simple to make use of, stunning, and fashionable.
For some time, Deepin was solely obtainable on its distribution, as supply code, and Ubuntu as an entire (by side-loading software program sources and and so forth). Just lately, the software program has been added to the Group part of Arch Linux, giving Archers much more alternative!
Putting in Deepin


The Deepin desktop atmosphere can now be put in so long as you could have the Group software program supply enabled. Earlier than this, the desktop needed to be put in through customized software program repositories, or constructed through the AUR. The base desktop may be put in through a single meta-package. To get it, open up the terminal, and do the next:
sudo pacman -S deepin
This meta-package offers Arch Linux the essential parts to run the desktop, and nothing else. From right here, you’ll additionally want to put in and allow the community supervisor software.
sudo pacman -S networkmanager
Community Supervisor is on the system, however not working. The software itself (like most issues on Arch) depends closely on systemd. To make sure that Deepin has a community connection, execute the next command:
sudo systemctl allow NetworkManager.service

sudo systemctl begin NetworkManager.service
Remember the fact that Deepin makes use of its personal Community Supervisor applet for the panel. This implies if you happen to’ve additionally put in “nm-applet” (the default community panel app) you’ll have two community indicators. Resolve this by uninstalling the applet.
sudo pacman -R nm-applet
After putting in the essential bundle to get the desktop working, and enabling networking, there are nonetheless a couple of issues left to put in. The “deepin-extra” meta-package. This can give the desktop atmosphere added utilities, and instruments that make utilizing utilizing the desktop atmosphere a way more full expertise.
sudo pacman -S deepin-extra
Do perceive that the Deepin desktop atmosphere is a bit totally different than others on Arch, as a result of it isn’t an entire desktop atmosphere. Whereas it’s true that Deepin offers a number of particular packages within the “deepin-extra” meta-package, customers will nonetheless be lacking sure instruments.
For instance: when a consumer installs Gnome 3 on Arch, two meta-packages make sure that the consumer will get an entire Gnome expertise, full with a textual content editor, electronic mail shopper, and all the things in between. The Deepin packages will not be practically as expansive, and customers might want to complement it.
To complement some lacking packages that Deepin doesn’t embrace, strive putting in the next packages:
sudo pacman -S geary gedit tomboy empathy transmission-gtk
Putting in LightDM
Deepin can operate nicely with just about any login supervisor. GDM, LXDM, SDDM, and the checklist goes on. That mentioned, in order for you a full expertise with this desktop atmosphere on Arch Linux, you’ll must allow the Deepin greeter.
A “greeter” is what the consumer sees once they log in on the system. It’s the core part of LightDM, and and not using a greeter, LightDM received’t even activate. To allow this greeter, first set up LightDM with:
sudo pacman -S lightdm
After putting in the bundle, the LightDM login supervisor received’t work, as configuration is required with systemd. Allow it because the default DM with:
sudo systemctl allow lightdm -f
Open the LightDM configuration file contained in the Nano textual content editor, and seek for “# greeter-session”.
sudo nano /and so forth/lightdm/lightdm.conf
Below # greeter-session, put:
greeter-session=lightdm-deepin-greeter
Save the up to date configuration file with Ctrl + O, after which use the check command to ensure all the things checks out.
lightdm --test-mode --debug
WARNING! Don’t reboot if the debug check outcomes will not be profitable! If this occurs, your configuration is unsuitable. Comply with the above steps and do it once more! When the debug command passes, reboot.
Configuration

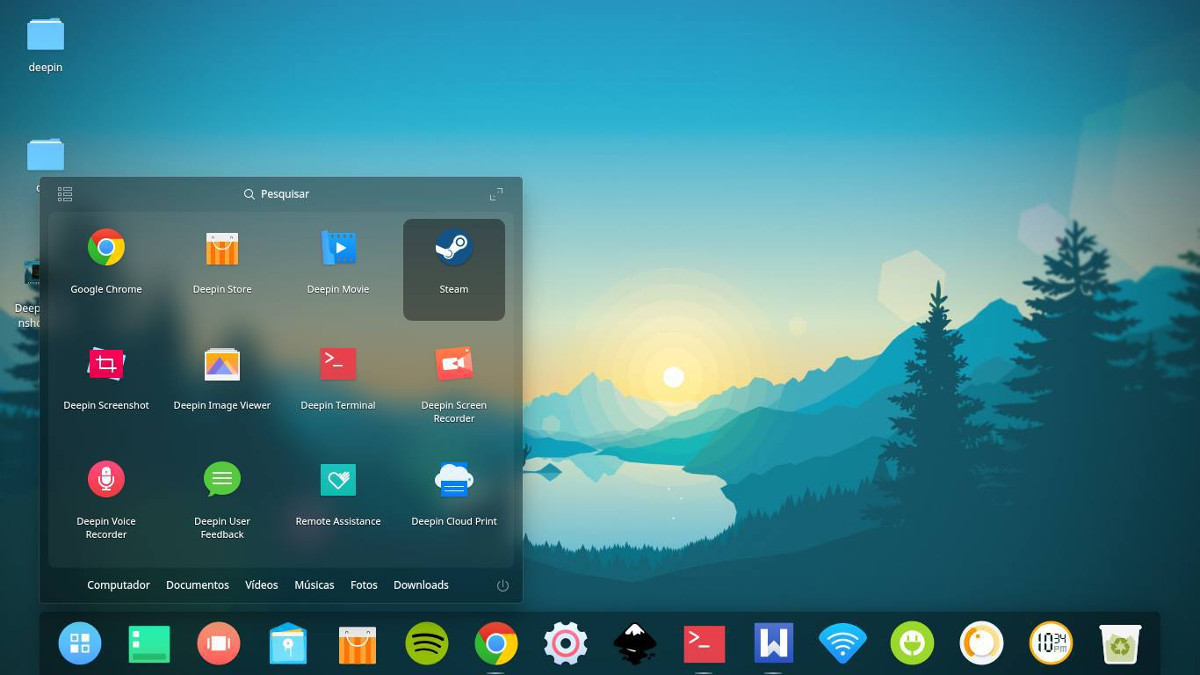
By default, Deepin is in eye sweet mode. This mode is successfully a dock on the backside of the display screen and nothing extra. There’s no high panel, and all the things appears very good. This mode appears good for most individuals, particularly those who just like the macOS manner of doing issues. Nonetheless, this mode isn’t the one manner to make use of this desktop atmosphere.
To change the look of the panel, proper click on on it, and discover “mode”. Swap from one format to a different by clicking between the 2 choices.
Including A High Bar To Dock Mode
If you happen to select to make use of Dock mode reasonably than the panel mode, you might wish to add a high bar. Not solely will it make all the things extra Mac-like, however you’ll have added options and buttons you miss out on with dock mode. To get the highest bar, merely download the snapshot and generate an installable Arch bundle, or level your favourite AUR helper at it. Then, seek for “deepin-topbar” and run it.
Autostart The Topbar
Wish to make sure that the topbar is at all times operating once you log into your desktop? If that’s the case, the easiest way to unravel that is to create a startup entry. Making a startup entry is so simple as creating a duplicate of the Desktop file that’s already in /usr/share/purposes/, and altering the permissions.
cp /usr/share/purposes/deepin-topbar.desktop ~/.config/autostart

sudo chmod +x ~/.config/autostart/deepin-topbar.desktop


