

Generally an Android emulator isn’t sufficient if you’d like to use Android apps on a Linux PC. Generally, you want the true factor. One of the simplest ways to get actual Android on a Linux PC is with an Android X86 virtual machine. On this information, we’ll go over how to set one up.
Set up VirtualBox on Linux
To virtualize the Android working system on a Linux OS, it’s essential to set up the VirtualBox virtualization software program. Fortunately, VirtualBox helps almost each Linux working system with out subject, and in consequence, it’s simple to set up.
To begin the set up of VirtualBox on your Linux PC, open up a terminal window by urgent Ctrl + Alt + T or Ctrl + Shift + T on the keyboard. From there, comply with together with the set up directions that correspond with the Linux OS you presently use.
Ubuntu
On Ubuntu, set up the VirtualBox app with the next Apt command.
sudo apt set up virtualbox
Debian
On Debian, it’s essential to manually allow a VirtualBox repo. To allow it, enter the instructions beneath.
wget
sudo apt-key add oracle_vbox_2016.asc
rm oracle_vbox_2016.asc
sudo apt-add-repository 'deb bionic contrib'
Lastly, set up VirtualBox on Debian.
sudo apt-get set up virtualbox
Arch Linux
To put in VirtualBox in Arch Linux, use the next Pacman command.
sudo pacman -S VirtualBox
Fedora
For those who’d like to use VirtualBox on Fedora Linux, first head over to this information to find out how to allow RPMFusion (each non-free and free) on the system. Then, once you’ve set up RPMFusion, use the Dnf command to set up VirtualBox.
sudo dnf set up VirtualBox
OpenSUSE
On OpenSUSE Linux, set up VirtualBox with the Zypper command.
sudo zypper set up virtualbox
Generic Linux
Oracle makes a “.run” binary launch of VirtualBox accessible to set up on each Linux working system. In case your OS doesn’t carry VBox, and also you want to set up it, head over to the location here to obtain and set up it.
Obtain Android X86
Now that Oracle VM VirtualBox is set up on your Linux PC, it’s time to obtain the Android X86 launch in order that we will use it to set up the virtual machine.
To obtain a replica of Android X86, comply with the step-by-step directions outlined beneath.
Step 1: Head over to the Android X86 webpage the place the newest OS photographs are positioned.
Step 2: On the Android X86 webpage, find the blue “Download” button, and click on on it with the mouse to transfer to the “Download” web page.
Step 3: On the “Download” web page for Android X86, you can be requested to select a obtain mirror. Choose the “OSDN” mirror with the mouse.
Step 4: On the OSDN mirror web page, find the model of Android X86 you prefer to to use. It should be an ISO file!
On this information, we will probably be utilizing Android X86 8.1 launch 3, as it’s rather more secure than 9.0. Obtain 8.1 here.
Setting up Android X86 in VirtualBox
Setting up the Android X86 virtual machine in VirtualBox could be complicated for those who’re not acquainted with virtualization. To make it much less complicated, we’ll break down the set up right into a step-by-step course of. Observe alongside beneath to get your VM working.
Step 1: Launch VirtualBox on your Linux PC. Then, discover the “New” button, and click on on it with the mouse to create a brand new VM.


Step 2: Discover “Name” and write “Android X86” within the field.
Step 3: Find “Type” and alter it from “Microsoft Windows” to “Linux.”
Step 4: Find “Version” and alter it from “Oracle (64-bit)” to “Other Linux (64-bit)”.


Step 5: Discover the “Next” button and click on on it with the mouse to transfer on to the following web page.
Step 6: Set “memory” to “2048 MB”. Or, go increased for those who’re feeling courageous.


Step 7: In “Hard Disk,” choose the field that claims, “Create a virtual hard disk now.” Then, click on the “Create” button.
Step 8: On “Hard disk file type,” choose the “VDI (VirtualBox Disk Image)” field with the mouse. Then, click on “Next.”


Step 9: For “Storage on physical hard disk,” choose the choice “Dynamically allocated.” Click on “Next” to proceed.
Step 10: In “File location and size,” go away the drive measurement at 8 GB. Or, set it to 32 GB for those who want extra space. Then, click on “Create” to make the brand new drive.
Step 11: Discover “Android X86” on the sidebar in VirtualBox, and choose it with the mouse. Then, right-click on the VM, and choose “Settings.”
Step 12: Inside “Settings,” discover “Display” and click on on it to entry the “Display” settings. Then, discover “Enable 3d Acceleration” and test the field subsequent to it. Click on “OK” to apply the settings.
Step 13: After exiting the VM settings, discover Android X86 within the sidebar. Then, click on the “Start” button to begin up the VM.


Step 14: Within the “Select start-up disk” window, discover the folder icon with the inexperienced icon, and click on it with the mouse. Then, go to “Downloads” and choose the Android X86 ISO file to load it into the VM. Then, click on “Start” to begin the VM.


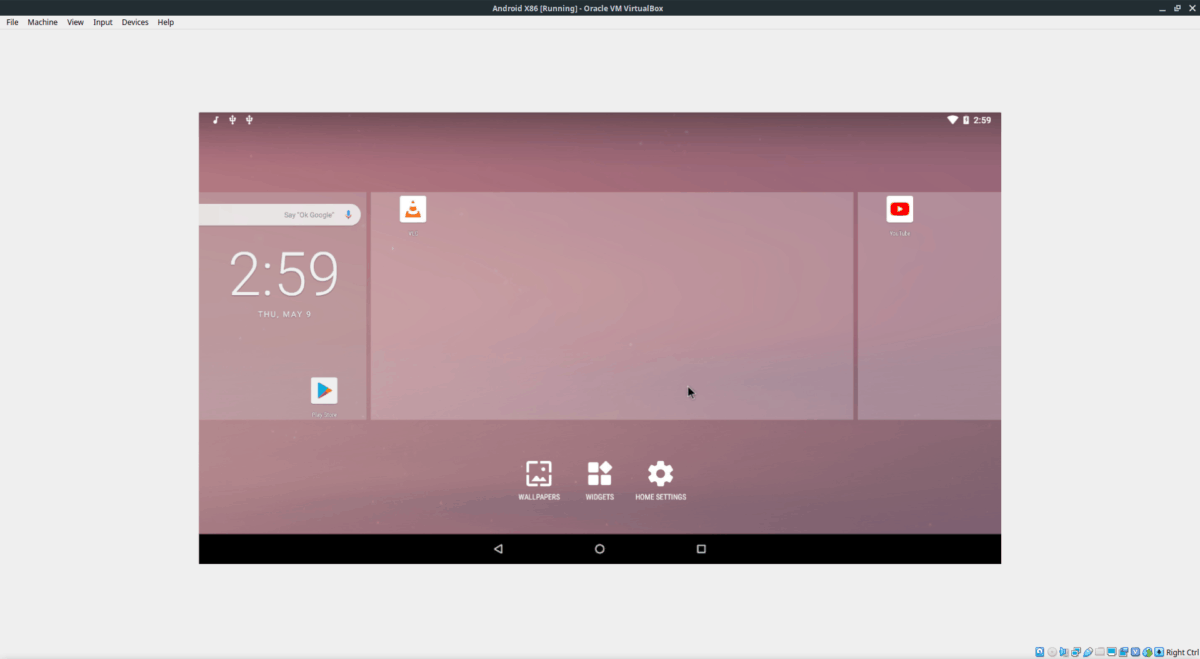
Utilizing your VM

When Android X86 begins up in VirtualBox, discover the “use without installation” button, and press Enter to achieve entry to Android immediately.

Or, for those who want to have a everlasting set up, choose the “Installation” choice to begin putting in Android.


