

Good high quality display seize could be very tough on Linux. One of many predominant causes is that video drivers aren’t pretty much as good as they’re on Home windows and Mac. Moreover, many Linux customers have no idea how to configure display seize apps, so the entire recordings look uneven, pixelated, and low decision.
On this information, we’ll present you the way to get high-quality HD recordings of your Linux desktop utilizing SimpleScreenRecorder. Nonetheless, please word that recording your desktop in top quality requires a pc with highly effective specs. If you’re operating a low-spec laptop, you’ll run into FPS points whereas recording. For greatest outcomes, have an HD monitor (1920x1080p+), no less than 8 GB of RAM, a quick CPU, and a quick GPU!
Putting in SimpleScreenRecorder on Linux
Linux has loads of helpful display recording instruments. Nonetheless, none come shut to SimpleScreenRecorder. Why? For starters, Linux customers can configure the recording’s FPS stage, and even the output video codec. It additionally has built-in settings to make Nvidia graphics card record higher footage, has hotkeys for fast seize, and far more!
Putting in SimpleScreenRecorder could be very simple on fashionable, mainstream Linux working methods. To start out the set up, open up a terminal window by urgent Ctrl + Alt + T or Ctrl + Shift + T on the keyboard. Then, observe the command-line directions outlined under that correspond with the Linux OS you presently use.
Ubuntu
On Ubuntu, customers can shortly get SimpleScreenRecorder up and operating with the next Apt command.
sudo apt set up simplescreenrecorder
Debian
These utilizing Debian Linux can simply set up the SimpleScreenRecorder program with the Apt-get command under.
sudo apt-get set up simplescreenrecorder
Arch Linux
Are you utilizing Arch Linux? You’ll find a way to set up the SimpleScreenRecorder program with the next Pacman command.
Notice: make sure that you’ve the “Community” software program repository up and operating earlier than making an attempt to set up SimpleScreenRecorder on your Arch PC!
sudo pacman -S simplescreenrecorder
Fedora
Sadly, Fedora Linux doesn’t embody the SimpleScreenRecorder program of their software program sources. Consequently, these on Fedora trying to get the appliance up and operating will want to allow the RPM Fusion Free software program repository.
Enabling RPM Fusion Free on Fedora Linux just isn’t a sophisticated course of. To do it, please observe our in-depth information on how to arrange RPM Fusion. Then, as soon as the software program repository is about up on your Fedora Linux PC, use the next Dnf set up command to arrange SimpleScreenRecorder on your system.
sudo dnf set up simplescreenrecorder
OpenSUSE
As long as you’ve the OpenSUSE Oss software program repository enabled, it is possible for you to to set up the SimpleScreenRecorder utility with the next Zypper command in a terminal window.
sudo zypper set up simplescreenrecorder
Generic Linux
SimpleScreenRecorder just isn’t out there on many obscure Linux working methods. Nonetheless, if you’d like to get the app working, you’ll find a way to obtain this system and compile it your self by heading over to this web page here.
Configuring SimpleScreenRecorder
Out of the field, SimpleScreenRecorder just isn’t configured to record high-quality video. The default FPS setting is approach too low, and the standard of the recording isn’t ok.
To configure the SimpleScreenRecorder utility for high-quality video, observe the step-by-step directions under.
Step 1: Open up SimpleScreenRecorder on the desktop by trying to find it in your app menu. Then, when the app is open, you will notice a welcome display. Click on the “Continue” button to transfer to the following web page.


Step 2: On the following web page, you’ll see the video configuration settings. Discover the “Video input” part, and examine the field subsequent to “Record the entire screen.”


Step 3: Find the “Frame rate” part. “Frame rate” by default is about to 30 FPS. This setting is OK for normal recordings. Nonetheless, by setting it to 60 FPS, your desktop recording will look extra crisp and clean on video.
To alter the FPS, erase “30” and alter it to “60.”


Step 4: Find the “Record audio” part. If you don’t want an audio recording on your video, uncheck the field. In any other case, preserve it checked and find “Source.” Then, change the drop-down menu subsequent to it to your PC’s microphone.


Once you’re finished configuring your recording settings, click on on the “Continue” button to transfer to the following web page within the recorder.
Step 5: Change the “Container” from MKV to MP4. MKV is notoriously a ache in video enhancing instruments. Then, find the slider subsequent to “Constant rate factor” and alter it from 23 to 2.


Step 6: Discover “Audio” and alter the codec from “Vorbis” to AAC.


After organising the audio codec, the configuration is full! Press “Continue” to transfer on to the following web page!
Recording with SimpleScreenRecorder
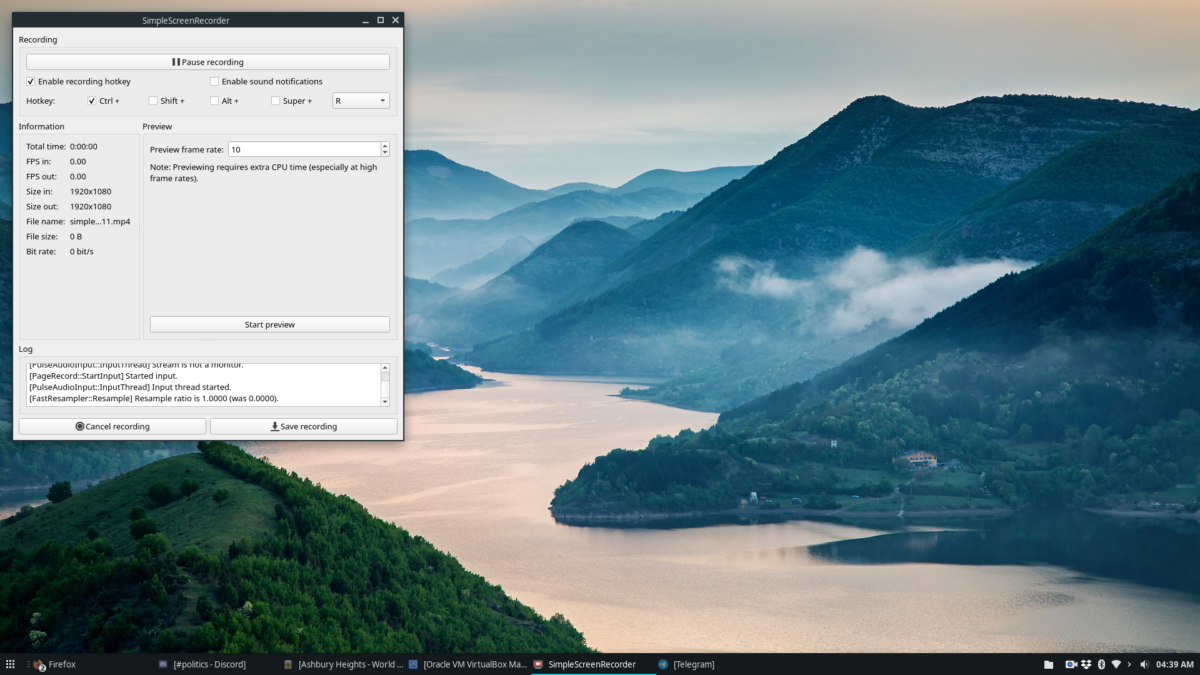
Recording the Linux desktop with SimpleScreenRecorder is tremendous easy, thanks to its built-in hotkey system. To start out a recording of your Linux desktop, merely press Ctrl + R on the keyboard. As quickly as this key mixture is pressed, the app will record all the pieces on the display.


At any time, if you want to cease the recording, go to the SimpleScreenRecorder app, click on “Pause recording” to cease the recording in progress. Then, choose the “Save recording” button.


Want to cancel a recording in progress in SimpleScreenRecorder? Press the “Cancel recording” button.


