

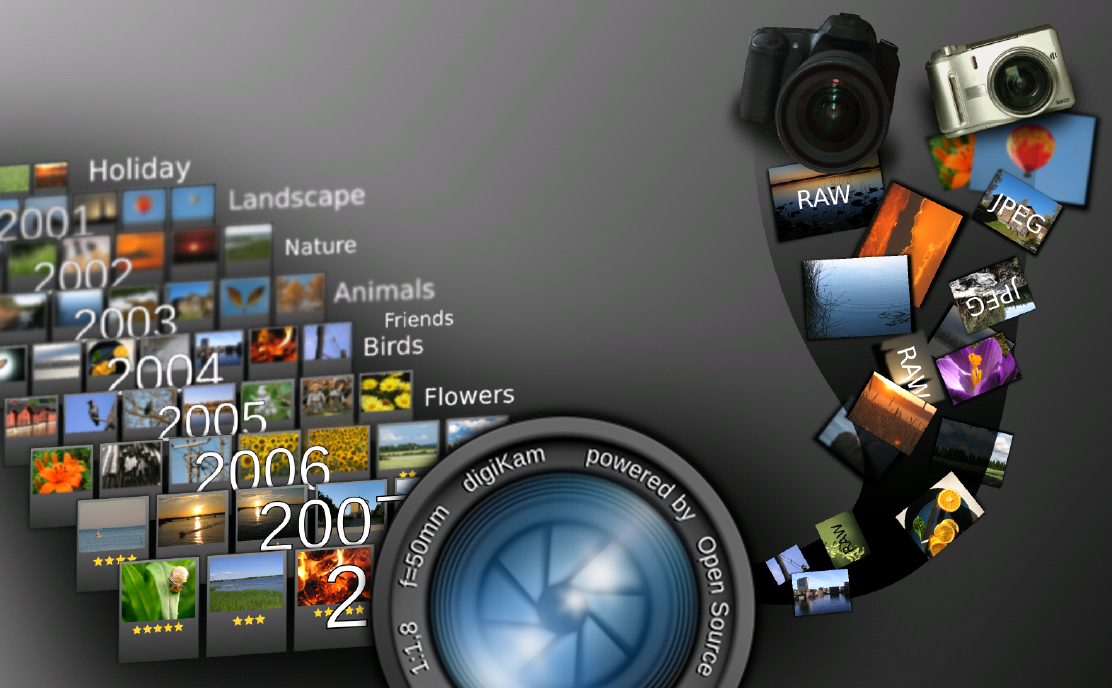
Want to arrange images on Linux? Try Digikam! It’s a digital administration device for images on the Linux desktop. It might label, kind and import photos for you, so that you don’t should do it manually.
SPOILER ALERT: Scroll down and watch the video tutorial on the finish of this text.
Set up Digikam
Digikam is a KDE utility, however it works on just about all Linux desktop environments flawlessly. To set up it, open up a terminal and observe the directions that correspond together with your Linux distribution.
Ubuntu
sudo apt set up digikam
Debian
sudo apt-get set up digikam
Arch Linux
sudo pacman -S digikam
Fedora
sudo dnf set up digikam
OpenSUSE
sudo zypper set up digikam
Generic Linux
Digikam is a KDE utility, so getting it on most Linux distributions isn’t tough. To set up it, open up a terminal and search “digikam” in your package deal supervisor. Alternatively, observe these directions to get the AppImage model of the app working.
Utilizing the Digikam AppImage is good, as all the pieces it must run is inside. Obtain it to your system by opening up a terminal and utilizing the wget downloader device.
wget
or, for the 32-bit model, strive:
wget
Now that Digikam is in your system, you’ll have to put it someplace. Within the terminal, use the mkdir command and create an AppImage folder.
mkdir ~/AppImages
Utilizing the mv command, transfer the Digikam AppImage file to the brand new ~/AppImage listing.
mv digikam-5.9.0-01-*.appimage ~/AppImages
Transfer the terminal into the AppImage folder with the CD command.
cd ~/AppImages
Use the chmod command and replace the Digikam AppImage file permissions. Updating permissions is a vital step, as it should permit the file to execute as if it have been a program.
sudo chmod +x digikam-5.9.0-01-*.appimage
Launch the preliminary Digkam setup device with:
./digikam-5.9.0-01-*.appimage
Kind Photos With Digikam
Now that Digikam is put in in your Linux PC, open it up. Because it opens, you’ll be taken by the first-launch wizard. This wizard will help you in establishing Digikam, importing photos, and establishing a database. While you’re carried out with the wizard, the app will load and be prepared to make use of.
Step one to cataloging photographs in Digikam is to kind photographs into collections. While you first run the app, it’ll arrange a default assortment in ~/Photos. This location is nice for inexperienced persons, however should you’ve obtained loads of photographs, it’s most likely finest to separate them into extra collections.


To create a brand new assortment, open up a terminal and use the mkdir command to make a brand new folder. Be at liberty to create as many folders as you want.
mkdir -p ~/collection-1
mkdir -p ~/collection-2
mkdir -p ~/collection-3
With all the gathering folders arrange in your onerous drive, open up the file supervisor and begin copying picture information into them. Every of the gathering folders is present in /house/. When all photographs are arrange within the assortment folders, return to Digikam and click on “Settings,” then “Configure Digikam”.
Within the settings space, search for “Collections” and choose it. Then, look underneath “Collections” for “local collections” and click on on the “Add collections” button.
Browse for every of the customized assortment folders you’ve arrange and click on “OK” to put it aside.
Create Albums
Organising customized assortment folders is step one to establishing a great catalog of images on Digikam. The following step is to separate these photographs into albums in order that your assortment is organized, and simple to look by.
Look to the side-bar and choose a group. Deciding on a group on the facet will load up all the images into the Digikam workspace.
Kind by all the loaded photographs (whereas holding down Ctrl) and choose all the images within the assortment you’d like so as to add to an album. Then, when all the specified photographs are chosen, let go of the Ctrl button, and right-click on any one of many chosen photographs. Within the right-click menu, search for the “move to album” possibility.
Clicking “move to album” brings up an album window. Within the window, click on the “new album” button.


Fill out the knowledge within the “new album” window and click on “OK” when all the pieces seems good to create the brand new album.
Tag Photos
Collections and albums assist arrange photographs. With out them, it’s tedious to look by picture information in Digikam. Nevertheless, your digital photograph library won’t ever be really organized till you make the most of the Digikam “tag” function.
To tag a picture file in Digikam, look by your albums for a picture. Proper-click on it, and choose “assign tag”.


Within the “assign tag” menu, click on the “add new tag” possibility. From right here, fill out the tag you’d wish to assign to the photograph. Repeat this course of till all photographs have related tags.
While you’re carried out, your complete Digikam photograph library is searchable. To discover a photograph within the database, click on the “search” button on the left and sort in a related tag (key phrase) within the field.
If you want to arrange each images and movies on Linux, take into account testing Speedy Photograph Downloader.


