

Ubuntu might be up to date from the command line, and from the GUI. In case you determine to replace Ubuntu by way of the command line, you’ll discover there are fairly a number of steps to the method. To make issues easy, you possibly can create a script that may deal with your entire replace course of. Creating the script will take a while however after you have it arrange, it is possible for you to to use it to replace Ubuntu each time a brand new replace is on the market. Right here’s what you want to do.

Straightforward replace script
Making Ubuntu a lot simpler to replace begins with creating an “easy update script.” This script will handle all the things from updating bundle sources, putting in Ubuntu upgrades, cleansing packages that want to be eliminated, and even refreshing issues like Snaps and Flatpaks!
To start out the method of making the simple replace script, open up a terminal window in your pc. A terminal window might be opened by urgent Ctrl + Alt + T or Ctrl + Shift + T. As soon as the terminal is open, observe the step-by-step directions under to create the script.
Step 1: Utilizing the contact command, create a brand new clean file referred to as “update.” The “update” file will maintain all the improve operations in your Ubuntu PC.
contact replace
Step 2: After creating the brand new replace file with the contact command, it’s time to entry it for enhancing functions. Open up the “update” file within the Nano textual content editor.
nano -w replace
Step 3: Within the Nano textual content editor, write the code under. Ensure that this code is on the very first line, or it is not going to work appropriately!
#!/bin/bash
The code above you’ve simply added to the “update” file is known as a shebang. It tells the interpreter what to do along with your script.
Step 4: Following the shebang code, we should add within the “update” line. This line will verify for any new software program updates on Ubuntu. Press Enter in Nano to create a brand new line. Then, paste within the code under with Ctrl + Shift + V.
sudo apt replace
Step 5: After including the “update” line, it’s time to add within the “upgrade” line. ”
Improve” will set up any pending software program patches in your Ubuntu PC. Press Enter to create a brand new line. Then, paste within the code with Ctrl + Shift + V.
sudo apt improve -y
Step 6: Now that the “upgrade” line of code is within the straightforward replace script, it’s time to add the “autoremove” line. “Autoremove” will mechanically uninstall and clear up any undesirable packages from the system.
So as to add the “autoremove” line to the script, press Enter, then paste the code under into the file with Ctrl + Shift + V.
sudo apt autoremove -y
Step 7: With “update,” “upgrade,” and “autoremove” added to the script, it’s time to write a line of code that may mechanically refresh and replace all Snap packages on the system.
So as to add the Snap replace line, press Enter. After that, paste the code under into the file with Ctrl + Shift + V.
sudo snap refresh
Step 8: After including within the Snap replace line, we should add within the Flatpak replace line. So as to add it, press Enter on the keyboard to make a brand new line. Then, with Ctrl + Shift + V, paste the code under into the file.
Word: if you don’t use Flatpaks on Ubuntu, be happy to skip this step.
sudo flatpak replace -y
Step 9: With the Flatpak line added to the script, no extra coding is required. Now we should save the “update” file to mirror the adjustments made. To avoid wasting, press Ctrl + O.


After saving the “update” file, exit Nano with Ctrl + X.
Putting in the simple replace script
The straightforward replace script is now written and prepared to set up. To put in the script, we should place the file within the “/usr/bin/” listing. To position the file there, begin by elevating your terminal session from an everyday person to root utilizing the sudo -s command.
sudo -s
Now that your terminal window has root entry, you possibly can place the simple replace script within your “/usr/bin/” listing. To place the file there, use the mv command under.


mv replace /usr/bin/
Now that the script is within the “/usr/bin/” listing, it’s time to change the permissions of the file in order that it may be run as a program in your Linux pc. To replace the permissions of the file, use the chmod command.
chmod +x /usr/bin/replace
Assuming the permissions of the “update” file have been modified, the script is prepared to be used as a program within the command-line.
Utilizing the simple replace script
When the simple replace script was written, it included many system operations to make updating a lot simpler. Now that the script is prepared to use, we will name all of these operations just by working the replace command in a terminal window.


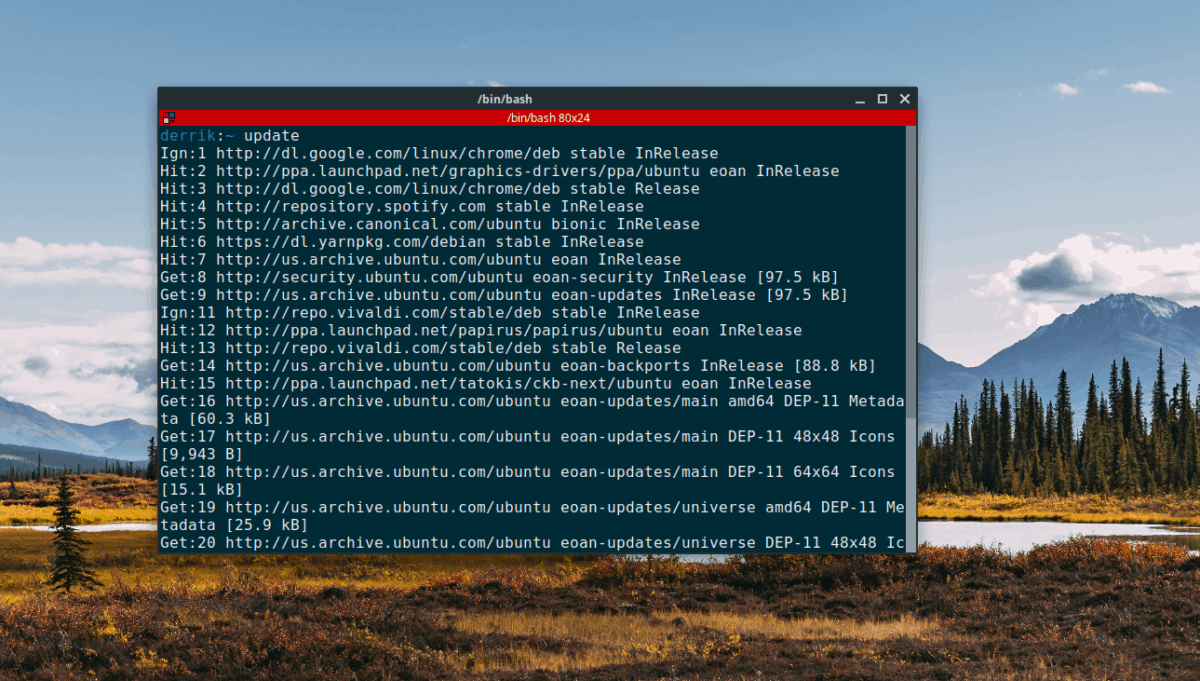
replace
As soon as the replace command is run within a terminal window, you’ll be prompted to enter your person’s password. Achieve this. Quickly after your Ubuntu packages will likely be upgraded, undesirable packages will likely be eliminated, and Snaps and Flatpaks will likely be upgraded mechanically!
Making updates simpler on Ubuntu with Software program Middle
One other method to make updating the Ubuntu working system a lot simpler is to use the Software program Middle, quite than the built-in replace software. Why? Not solely can it handle your Ubuntu bundle updates, nevertheless it additionally will improve Snap packages and different objects as properly.


To replace with Ubuntu Software program Middle, do the next.
Step 1: Launch Ubuntu Software program Middle in your Ubuntu Linux desktop.
Step 2: Find the “Updates” tab, and click on on it with the mouse.
Step 3: Click on the refresh button on the highest left to verify for software program updates.
Step 4: Click on the set up button to get out there updates.


