

Do you have got some image information, graphics, or private photographs you’d like to edit on your Linux PC? Uncertain about what app to use to make these edits? We might help! Comply with alongside on this information as we go over how to make basic image edits on Linux.

Putting in Gimp
There are various helpful image editors on the Linux platform. Nevertheless, none are fairly as versatile and useful as Gimp. It gives up glorious basic enhancing options reminiscent of cropping, re-sizing, shade correction, and extra.
Together with Gimp’s unbelievable basic enhancing options, there’s one more reason to use Gimp in your basic image enhancing wants: it’s one of many solely image editors that may be put in on just about any Linux distribution, huge or small. It even has a Home windows model!
To put in the Gimp image editor, begin by launching a terminal window on the Linux desktop. You will get a terminal window open by urgent Ctrl + Alt + T or Ctrl + Shift + T on the keyboard. Then, as soon as the terminal window is open, comply with the command-line directions outlined under that correspond with the working system you employ.
Ubuntu
On Ubuntu Linux, you may set up the Gimp image editor with the Apt command under.
sudo apt set up gimp
Debian
To get Gimp working on Debian Linux, use the Apt-get command under.
sudo apt-get set up gimp
Arch Linux
Arch Linux customers can simply set up the Gimp image editor with the Pacman command in a terminal window.
sudo pacman -S gimp
Fedora
Fedora Linux has the Gimp image editor accessible for set up, and customers can set up it with the Dnf bundle supervisor command under.
sudo dnf set up gimp
OpenSUSE
In case you are utilizing OpenSUSE Linux, you’ll find a way to set up the Gimp image editor with the next Zypper set up command.
sudo zypper set up gimp
Flatpak
The Gimp image editor is within the Flathub Flatpak retailer. Gimp being accessible as Flatpak is good news, because it signifies that it doesn’t matter what Linux distribution you employ, huge or small, there’s a simple means to get the app up and working.
To start out the set up course of for the Gimp image editor from the Flatpak Flathub retailer, you’ll need to set up the Flatpak runtime. To do that, set up the “flatpak” bundle within the terminal. Alternatively, comply with our in-depth information on how to arrange Flatpak on Linux.
After you’ve arrange the Flatpak runtime on your Linux PC, the set up can start. Use the flatpak remote-add command to subscribe to the Flathub app retailer.
flatpak remote-add --if-not-exists flathub
When you’ve subscribed to the Flathub app retailer in Flatpak, use the flatpak set up command to get Gimp.
flatpak set up flathub org.gimp.GIMP
Snap
As well as to being within the Flathub Flatpak app retailer, Gimp can also be within the Snap bundle retailer. Like Flatpak, Gimp being accessible on the Snap retailer allows many Linux working techniques to acquire easy accessibility to the app even when it’s not of their main app sources.
To put in the Snap model, begin by enabling the Snapd runtime on your pc. Then, use the snap set up command under to get Gimp.
sudo snap set up gimp
Make basic image edits with GIMP
Launch the Gimp image editor program on the Linux desktop. Then, as soon as the app is open, launch the Linux file supervisor, find the image you’d like to edit, and right-click on it with the mouse to open up the right-click menu.
Within the right-click menu, search for the “Open with” possibility and choose “Gimp” to open up the image you’d like to make edits to in Gimp.
Cropping footage


Do you want to crop an image? Right here’s how to do it in Gimp. First, click on on the “Crop” icon, and click on it with the mouse. Deciding on “Crop” will put Gimp into cropping mode.

Use the mouse to drag the crop overlay onto the image, and scale the overlay to the specified crop dimension. Then, press Enter on the keyboard to verify the crop.
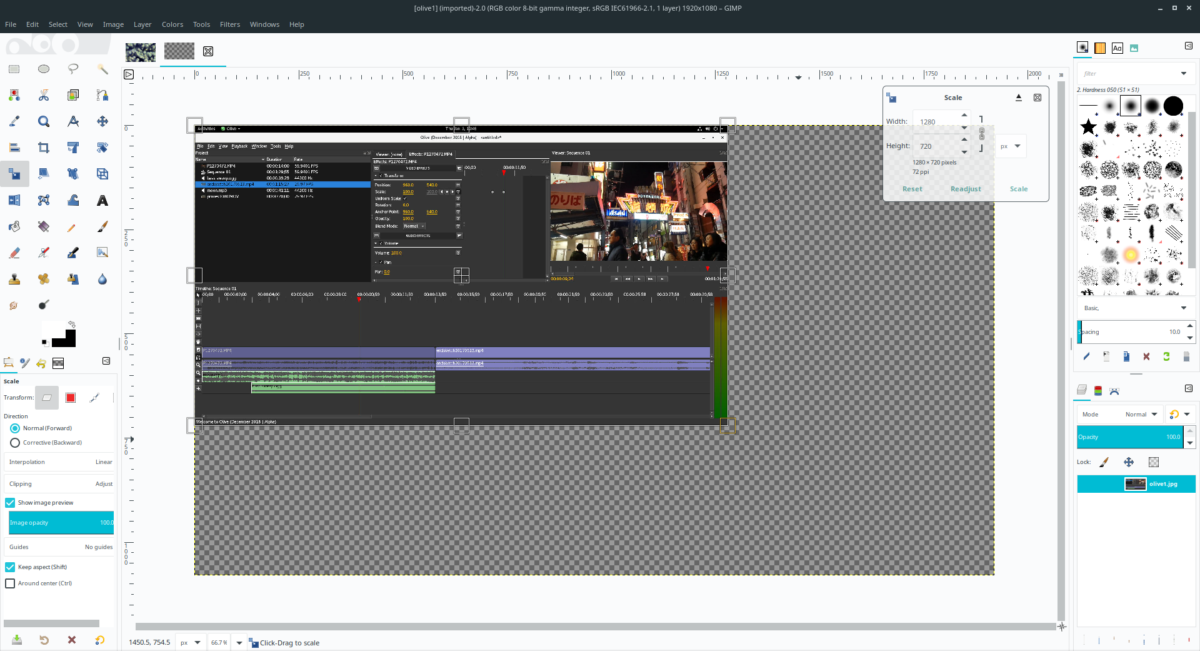
Resizing
Need to resize an image? Click on on the “Scale” icon. Deciding on “Scale” will carry up a “Scale” overlay window. Write within the desired dimension in “Width” and “Height.” Then, press Enter to resize the image.


Alternatively, drag the sides of the image to resize the image.

Flipping
For those who’d like to flip or “mirror image” a photograph in Gimp, discover the “Flip” icon and click on it. Then, after clicking on the “Flip tool,” click on your mouse on the picture to immediately flip it.

To flip horizontally, choose “Horizontal.” For vertical, choose “Vertical.”
Brightness/Distinction
Wanting to modify the distinction of an image or picture? Choose the drop-down menu. From there, discover “Brightness-Contrast” within the menu, and choose it with the mouse.

By choosing “Brightness-Contrast,” a brightness and distinction pop-up window will seem. Use the slider to modify the brightness and distinction.
Computerized correction
Gimp has a wonderful computerized correction function that may handle a variety of image edits like shade, brightness, and different issues. To make use of the automated correction function, do the next.


First, discover “Color” and choose it with the mouse. Then, find “Auto.” After discovering “Auto,” choose one of many computerized correction choices to modify your image.


