

A self-extracting archive is a compressed file that may extract its contents with no particular packages required. Many software program builders use self-extracting archives to rapidly and effectively ship their software program. Nevertheless, self-extracting archives produce other makes use of, too, particularly, permitting the decompression of recordsdata with out having to cope with difficult instruments like Tar, Zip, and others.

On this information, we’ll present you the way to create your self-extracting archive on Linux. We will even go over how to encrypt your self-extracting archives, for further safety.
Putting in the Shar device
The very first thing we should do is set up the Shar device on Linux. The rationale? Regardless of it being a broadly used utility, Shar doesn’t come pre-installed on very many Linux working methods. To begin the set up, open up a terminal window by urgent Ctrl + Alt + T or Ctrl + Shift + T on the keyboard. Then, comply with the command-line set up directions outlined beneath.
Ubuntu
On Ubuntu Linux, you may get the Shar app with the next Apt command.
sudo apt set up sharutils
Debian
Are you utilizing Debian Linux? You’ll give you the chance to get Shar working with the Apt-get command beneath.
sudo apt-get set up sharutils
Arch Linux
Want to get the Shar up and working on your Arch Linux PC? Make use of the Pacman command down beneath.
sudo pacman -S sharutils
Fedora
On Fedora Linux, set up the Shar software on your system with the next Dnf command.
sudo dnf set up sharutils
OpenSUSE
Are you an OpenSUSE Linux consumer? Set up the Shar program with the Zypper command beneath.
sudo zypper set up sharutils
Generic Linux
Want to get your arms on the Shar software and utilizing a launch of Linux not coated on this information? Head over to this page to find out how to obtain the supply code.
Creating a Shar archive
Creating a Shar archive is completed within the terminal, because the Shar program is a command-line solely utility. To create your archive, open up a terminal window. Then, comply with the step-by-step directions beneath.
Step 1: Use the ls command to view the contents of your property listing.
ls
Step 2: Look by way of the output of the ls command and find the folder during which you need to compress the contents. Then, enter it with the CD command. For instance, if you would like to compress the entire paperwork recordsdata within the “Documents” listing, you’d do cd Paperwork. So as to add the contents of your “Downloads” folder, you’d do cd Downloads, and many others.
cd name-of-folder-in-home-directory
Step 3: As soon as within the folder, run the shar command to add all recordsdata inside (with the CD command in Step 2) to a new .shar archive.
Remember the fact that when working the shar command, it is going to add completely the whole lot to the archive. If there are gadgets within the folder you don’t want to be added to the archive, transfer them out of it with the Linux file supervisor earlier than executing the command beneath.
shar ./* > ../my-shar-archive.shar


Step 4: Upon executing the shar command in Step 3, the Shar software will start creating your self-extracting archive. Be affected person and permit the command to execute. When the method is full, you will notice my-shar-archive.shar seem in your house listing (~).
Step 5: After creating your new self-extracting Shar archive, the method isn’t full. Earlier than having the ability to run it to extract the contents inside, the permissions of the file should be up to date.
Updating permissions on Linux is completed with the chmod utility. Utilizing chmod +x change my-shar-archive.shar in order that anybody can execute it and extract the contents.
sudo chmod +x my-shar-archive.shar


Be certain to inform your mates that they have to additionally replace the permissions of my-shar-archive.shar on their Linux system as effectively with the chmod command if they need to extract the contents of it.
Extract your self-extracting archive
To extract the contents of your new self-extracting Shar archive, execute the next command.


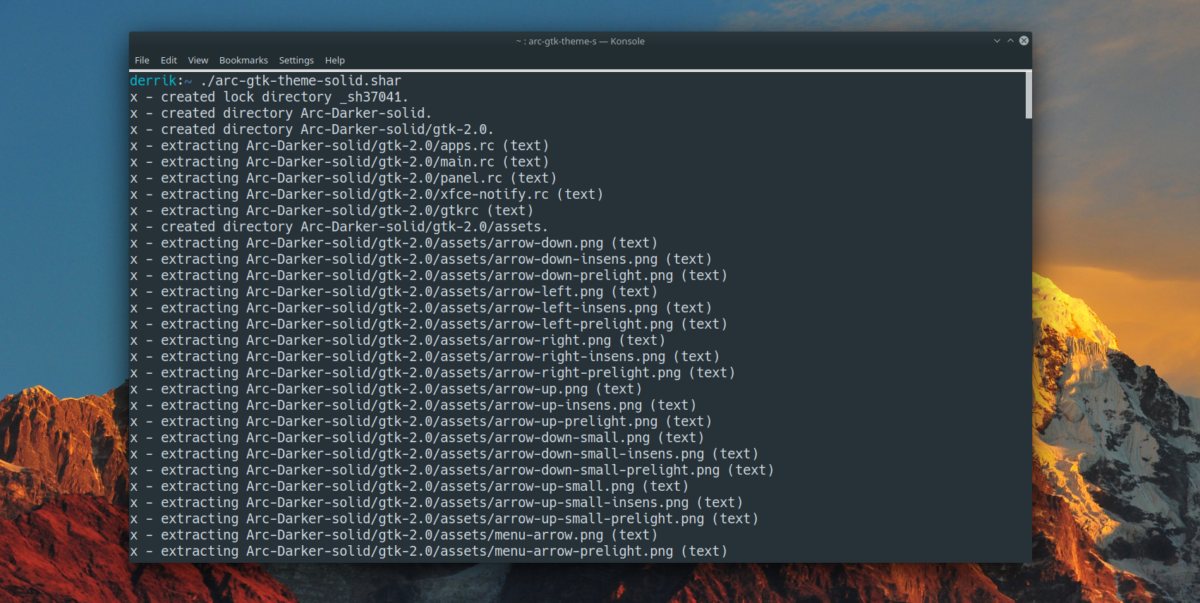
./my-shar-archive.shar
The contents of my-shar-archive.shar will probably be positioned within the precise listing it was extracted.
Encrypting your self-extracting archive
When you’re sending delicate recordsdata in your self-extracting archive over the web, it’s your decision to encrypt it for safety functions. Fortunately, encrypting self-extracting archive recordsdata on Linux could be very simple. To do it on your system, comply with the step-by-step directions beneath.
Step 1: Guarantee that you’ve the GPG device put in on your Linux PC by executing the gpg --help command in a terminal. If GPG is put in, you will notice the GPG assist web page. If it’s not, nothing will occur.
Word: want to set up GPG? Click here.
gpg --help
Step 2: Encrypt your self-extracting archive with the gpg command beneath. Be certain to use a safe password.
gpg -c my-shar-archive.shar
As soon as encrypted, the output file will probably be my-shar-archive.shar.gpg.
Step 3: Delete the unencrypted Shar archive with rm.
rm my-shar-archive.shar
Step 4: Ship out my-shar-archive.shar.gpg to a buddy, member of the family, or add on-line for safekeeping.
To extract the file, execute the next instructions.
gpg my-shar-archive.shar.gpg
./my-shar-archive.shar


