

Voyager Linux is a Xubuntu Linux distribution that brings one of the best out of the XFCE desktop atmosphere. It comes with many distinctive options not present in different XFCE distributions, such because the Avant Window Navigator, Conky, and others.
Apart from the XFCE version of Voyager, additionally they provide different variations, like Gnome, and others. As of now, Voyager Linux is constructed upon Ubuntu. Nevertheless, there’s additionally a Debian-based launch for many who aren’t followers of Ubuntu.
On this information, we’ll present you the way to arrange Voyager Linux. Nevertheless, earlier than we start, make sure that you have got a 2 GB USB flash drive, a pc with at the very least 1 GB of RAM and two CPU cores.
Downloading Voyager Linux
The one approach to install Voyager Linux is to obtain the ISO launch of the working system from the web. Fortunately, Voyager Linux is hosted on SourceForge, so the obtain speeds are very quick.
To get your fingers on the newest Voyager Linux ISO file, observe the step-by-step directions under.
Step 1: Head over to the Voyager Linux website. As soon as on the official web site, you’ll discover a number of menu choices on the facet. Find the obtain icon and click on on it. Choosing this icon will take you to the Voyager Linux SourceForge web page.
Step 2: On the Voyager Linux SourceForge web page, there are a number of completely different obtain choices out there. The whole lot from Voyager Debian, to older Voyager Ubuntu, spins. Nevertheless, on this information, we are going to give attention to Voyager XE.
Find Voyager-XE-20.04-beta-LTS-amd64.iso and click on on it to begin the obtain. Alternatively, if Voyager XE 20.04 is out of beta, obtain that as an alternative.
Step 3: Let Voyager-XE-20.04-beta-LTS-amd64.iso obtain to your laptop. It should take fairly a little bit of time, as ISO recordsdata have a tendency to be various gigabytes in measurement.
When the obtain course of is full, you should have efficiently downloaded the newest Voyager Linux launch to your system. Transfer on to the following part of the information to proceed!
Creating the Voyager Linux reside USB
Putting in Voyager Linux means making a reside USB. There are a number of alternative ways to create a reside USB. Nevertheless, by far, the best approach to go is by making use of Etcher, a disk imaging software by the corporate Balena.
The rationale we’re utilizing Etcher on this information? It’s a cross-platform software. So, it doesn’t matter what working system you select to make your Voyager Linux reside USB on, the method is identical.


Download the Etcher tool to your Linux, Mac, or Home windows laptop. Then, undergo the method of putting in it on the system. As soon as it’s put in, open it up and observe the step-by-step directions under to make your Voyager Linux reside USB.
Step 1: Within the Etcher utility, find the “Select image” button, and click on on it with the mouse. By clicking “Select image,” a pop-up window will seem. Use it to browse for the Voyager XE 20.04 ISO that was downloaded earlier.
Step 2: Plug within the USB flash drive to the USB port in your laptop.
Step 3: Find the “Select drive” button and click on on it with the mouse. Upon deciding on the “Select drive” button, a UI will seem. Use this UI to choose your drive.
Step 4: Click on the “Flash!” button to begin the creation course of! When all the pieces is completed, configure your laptop’s BIOS to boot from USB and transfer on to the following part of the information.
Putting in Voyager Linux
To install Voyager Linux, make sure that you’ve totally booted into the reside USB. Then, observe the step-by-step directions outlined under to get Voyager arrange.
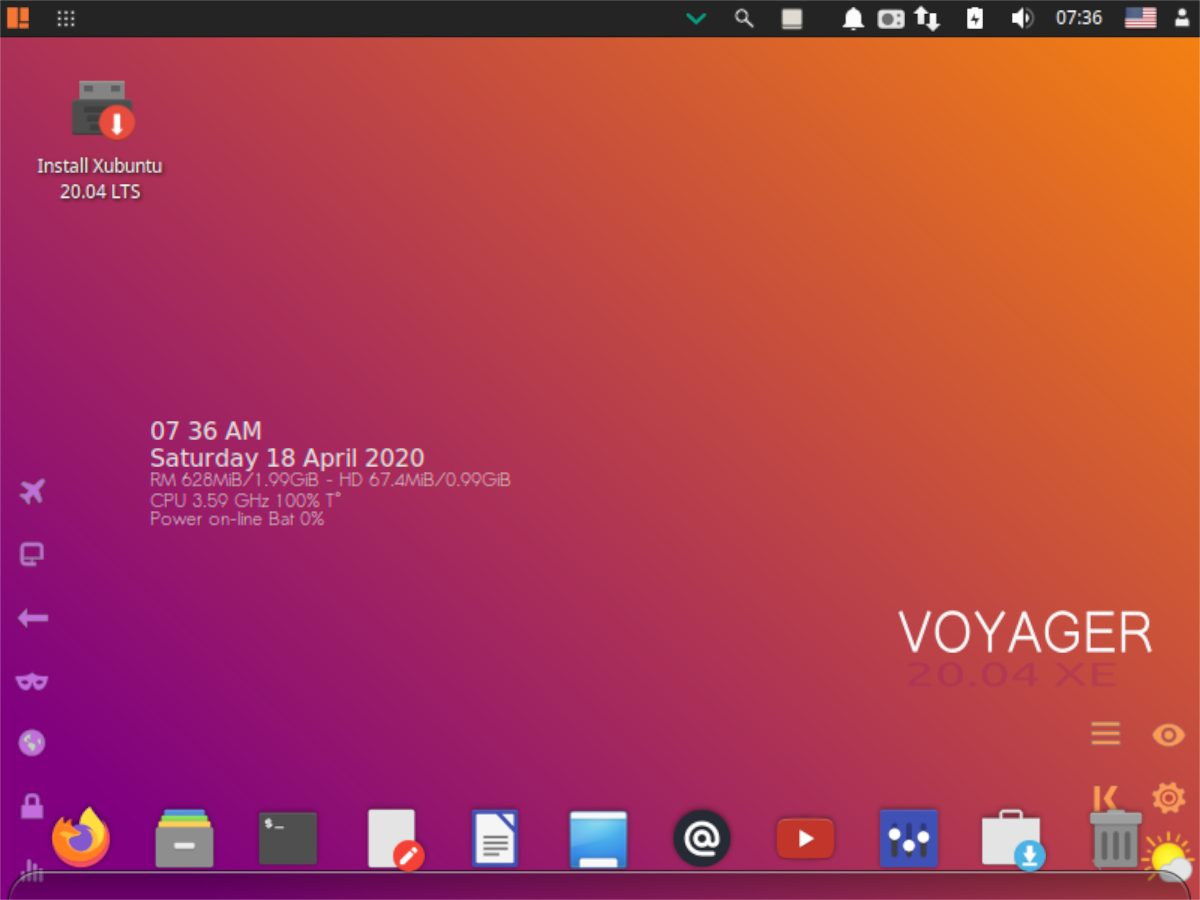
Step 1: Find the icon on the desktop that claims, “Install Xubuntu 20.04 LTS” and click on on it with the mouse. Choosing this feature will carry up the Voyager Linux set up software.


Step 2: Learn the welcome display screen. Then, find the “Continue” button and click on it to transfer to the following web page.

Step 3: Choose your keyboard structure on the “Keyboard layout” web page if Voyager Linux doesn’t choose it for you robotically. Then, click on on the “Continue” button to transfer to the following web page.

Step 4: Choose the “Download updates while installing Xubuntu.” Additionally, choose “Install third-party software for graphics and Wi-Fi hardware and additional media formats.”


Click on on “Continue” to transfer to the following web page.
Step 5: On the “Installation type” web page, choose the set up kind that matches greatest for you. Don’t select the “Something else” choice except you’re a Linux knowledgeable and perceive how to arrange a system by hand.

Choose “Install Now” to transfer to the following web page.
Step 6: Utilizing the on-screen map, choose your time zone. Then, click on on “Continue” to transfer to the following web page.

Step 7: Utilizing the UI, arrange a username, password, and hostname on your new Voyager Linux PC. Then, choose the “Continue” button to transfer on to the following web page.

Let the Voyager Linux installer arrange the system. When the method is full, click on the “reboot” button that seems on the display screen to restart. When the reboot is full, you’ll be prepared to use your new Voyager Linux set up!


