

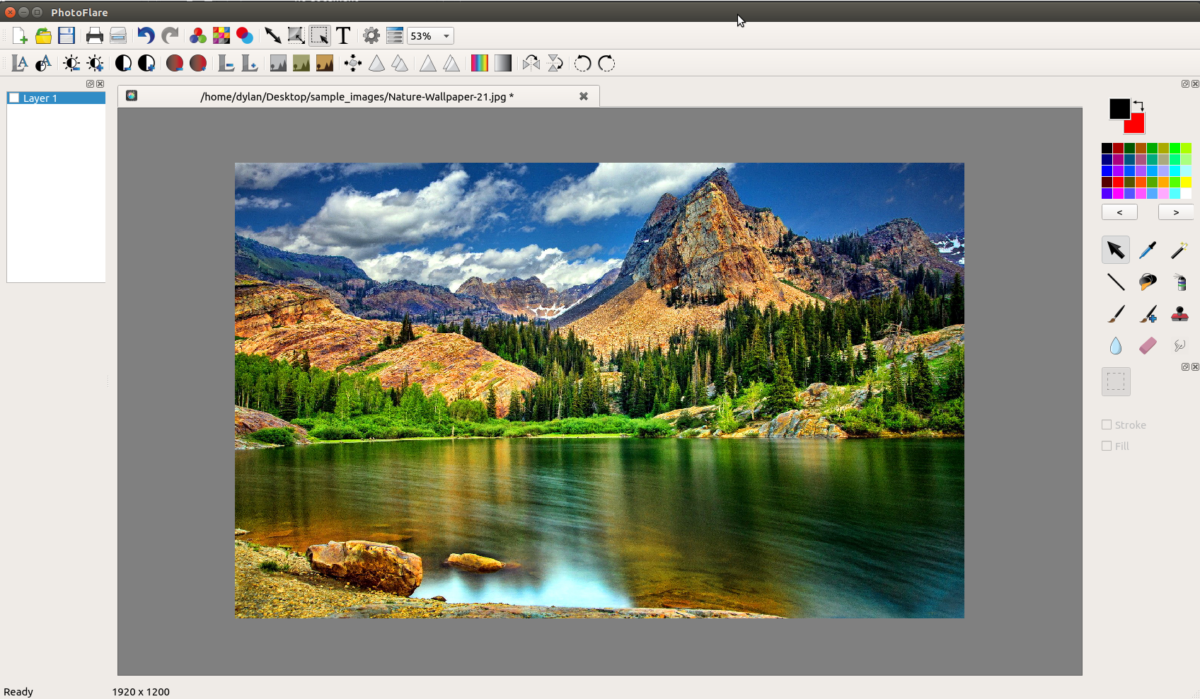
PhotoFlare is a powerful image editor for Linux. It helps fast cropping, flip/rotating, scaling, image filters, batch processing, and lots of extra wonderful options. On this information, we’ll present you ways to get it working on your Linux system.

Ubuntu set up directions


The builders of PhotoFlare make the app out there for all Ubuntu Linux customers through a PPA. This PPA has variations for Ubuntu 18.04 LTS, in addition to newer variations. In case you’d like to get the app working on your Ubuntu Linux PC, begin by opening up a terminal window. To open up a terminal window, press Ctrl + Alt + T or Ctrl + Shift + T on the keyboard. Then, from there, use the add-apt-repository command under to add the PhotoFlare PPA to the system.
sudo add-apt-repository ppa:photoflare/photoflare-stable
After including the PPA to your Ubuntu PC, it’s time to replace Ubuntu’s software program sources. Utilizing the replace command, refresh the software program sources.
sudo apt replace
As soon as the replace command finishes, the set up of PhotoFlare on Ubuntu can start. Utilizing the apt install command, get the newest launch of PhotoFlare on your Ubuntu PC.
sudo apt install photoflare
Debian set up directions
Though the builders of the PhotoFlare program don’t explicitly help Debian with a standalone DEB bundle out there on their web site, it doesn’t matter, as the Ubuntu PPA packages work on Debian, and may be downloaded. To begin the set up course of, launch a terminal window by urgent Ctrl + Alt + T or Ctrl + Shift + T on the keyboard. Then, use the wget obtain command to seize it from the PPA repository.
wget
As soon as the PhotoFlare DEB bundle is completed downloading to your Debian Linux PC, it’s time to install the PhotoFlare bundle. Utilizing the dpkg command, load in the DEB bundle to the system. Remember that when dpkg runs, errors might happen.
sudo dpkg -i photoflare_1.6.3-0+784~ubuntu18.04.1_amd64.deb
After putting in the PhotoFlare DEB bundle on your Debian PC, you will have to appropriate any of the errors that appeared in the terminal immediate. These errors are dependency points and have to be fastened for PhotoFlare to run appropriately. Utilizing the apt-get install -f command, appropriate the drawback.
sudo apt-get install -f
When all dependency points are taken care of, PhotoFlare is prepared to use on your Debian Linux system!
Arch Linux set up directions
PhotoFlare doesn’t help Arch Linux in an official capability. There isn’t any bundle in any of the official software program repositories. Nevertheless, they do hyperlink to an Arch Linux Consumer Repository bundle, which the consumer can construct by hand to get pleasure from the PhotoFlare app. Right here’s how to get it going.
First, open up a terminal window. Then, use the Pacman command to install each the “Git” and “Base-devel” packages on your Arch Linux PC. These two packages are important for interacting with the AUR.
sudo pacman -S git base-devel
As soon as the two packages are arrange on your Linux PC, use the git clone command to obtain the Trizen AUR helper. This program makes constructing AUR apps a lot simpler, as all dependency installations are automated.
git clone
Install the Trizen app on your Arch Linux PC with the makepkg command.
cd trizen
makepkg -sri
Lastly, as soon as the Trizen program is about up on your Arch Linux PC, the PhotoFlare set up course of can start. Utilizing the trizen command, obtain and install the program.
trizen -S photoflare-git
Fedora set up directions


Sadly, there isn’t an official RPM bundle out there to Fedora Linux customers to install PhotoFlare. Nevertheless, it’s nonetheless potential to install the program on the system, thanks to the Alien bundle conversion instrument.
To begin the set up course of, open up a terminal on the Fedora desktop by urgent Ctrl + Alt + T or Ctrl + Shift + T on the keyboard. Then, use the dnf install command to load up Alien.
sudo dnf install alien
With Alien put in, use the wget command to obtain the newest DEB launch of PhotoFlare from the Ubuntu PPA.
wget
After the obtain is full, you have to install all of the required dependencies that PhotoFlare will want to run on your Fedora Linux PC. Enter the dnf install command under to get them working.
sudo dnf install GraphicsMagick GraphicsMagick-c++ libwmf-lite
Once you’ve completed putting in all of the dependencies, it’s time to convert the PhotoFlare DEB to an RPM. Utilizing the alien -rvc command, start the conversion course of.
sudo alien -rvc photoflare_1.6.3-0+784~ubuntu19.10.1_amd64.deb
The output of the Alien conversion course of needs to be photoflare-1.6.3-1.x86_64.rpm or one thing related.
As soon as the bundle is completed changing, use the rpm command to install the app. Make sure to use the –power command, as the PhotoFlare RPM conflicts with the “filesystem” bundle. This battle isn’t an issue. It’s only a bug with Alien.
sudo rpm -Uvh --nodeps photoflare-1.6.3-1.x86_64.rpm --force
OpenSUSE set up directions
On OpenSUSE Linux, it might be potential to convert the DEB bundle to an RPM like in Fedora. Nevertheless, the dependencies wanted to run the app on OpenSUSE usually are not identified, so strive at your personal danger by following this information right here.
Alternatively, in case you’re not occupied with messing with Alien on OpenSUSE, observe the Flatpak set up directions to get PhotoFlare working.
Flatpak set up directions
The PhotoFlare app is in the Flathub app retailer. So, in case you’re utilizing a Linux distribution not lined on this information, you’ll nonetheless have the opportunity to use PhotoFlare! To begin the set up, observe our tutorial to learn the way to allow Flatpak on your Linux PC. Then, open up a terminal and enter the instructions under to get PhotoFlare.
flatpak remote-add --if-not-exists flathub

flatpak install flathub io.photoflare.photoflare


