

PhpMyAdmin is a web-based, open-source administration software used for managing and putting in net applied sciences on net servers, and is often utilized by fashionable internet hosting providers.
The PhpMyAdmin software is a wonderful addition to any Ubuntu Linux net server, because it makes caring for duties like database administration, app set up and different duties very simple.
On this information, we’ll present you ways to install PhpMyAdmin on a Linux server working Ubuntu 18.04 LTS. Nonetheless, these set up directions must also work with 19.04, 19.10, and different variations of the working system.
Improve Ubuntu 16.04 LTS/14.04 LTS
The PhpMyAdmin software program helps older variations of Ubuntu. Nonetheless, it needs to be famous that these older variations will doubtless not have the latest options like 18.04 LTS or different trendy variations of the working system. So, In case you’ve by no means put in PhpMyAdmin on Ubuntu Server however are wanting to do it, you will need to improve beforehand.
Word: please make sure to again up all necessary knowledge and configuration information in your working system earlier than making an attempt to improve. It’s best to be ready in case an accident occurs in the course of the upgrading course of.
Upgrading from 16.04 LTS or 14.04 LTS to Ubuntu 18.04 LTS is an concerned course of. In case you’re accustomed to the method of upgrading, log into your server through the command line, and run the do-release-upgrade command.
In case you’re not accustomed to how to improve Ubuntu Server, don’t fear! We have now an in-depth information all about how one can take your present model and improve it with ease.
Install an online server
PhpMyAdmin is net know-how. To run this net know-how on your Ubuntu Server working system, you will need to have an online server already configured and prepared to go.
In case you’re wanting into PhpMyAdmin, you could have already got an online server arrange on Ubuntu. Nonetheless, not everybody does, so on this part of the information, we’ll present you ways to arrange an online server on Ubuntu shortly.
The online server we’ll be focusing on on this information is Apache. The explanation? On Ubuntu, establishing the Apache net server is extremely easy, which signifies that even new Linux customers gained’t have points getting it working.
To start out the set up of Apache on Ubuntu server, enter the command beneath in your Ubuntu Server’s terminal.


sudo apt install lamp-server^
Let the above command run, and it’ll install the whole lot from the Apache webserver to MySQL to PHP. When the command lastly finishes putting in the whole lot, you possibly can verify that your Apache net server is working with the systemctl command.
systemctl standing apache2
If the webserver is working efficiently, you will note inexperienced textual content that claims “active (running).” If you don’t see this message, restart the server and re-run the standing command.
PhpMyAdmin on Ubuntu Server 18.04 LTS
Putting in PhpMyAdmin on Ubuntu Server isn’t an concerned course of thanks to the laborious work of the working system builders. All the things is offered and prepared to install proper by means of conventional Ubuntu software program repositories. To start out the set up course of, observe the step-by-step directions beneath.
Step 1: Earlier than putting in PhpMyAdmin on Ubuntu Server 18.04 LTS, it is best to run an replace to refresh the software program sources, and to see if any pending software program updates are prepared to install.
Utilizing the replace command, test for updates.
sudo apt replace
Then, install any pending software program patches on your Ubuntu Server with the improve command. Make sure to use the “y” command-line swap, as it’ll enable the command to auto-install the whole lot.
sudo apt improve -y
Step 2: Following the replace/improve course of for Ubuntu 18.04 LTS, it is possible for you to to install PhpMyAdmin, in addition to the opposite bundle dependencies which can be required to run the software program (php-mbstring and php-gettext).
Utilizing the apt install command, get the most recent PhpMyAdmin bundle put in on your Ubuntu server. As soon as once more, make sure to use the “y” command-line swap to auto-install the whole lot.
sudo apt install phpmyadmin php-mbstring php-gettext
Step 3: Upon putting in the PhpMyAdmin packages on your Ubuntu server, you will note a pop-up window. This pop-up window states, “Please choose the web server that should be automatically configured to run phpMyAdmin.”
Choose “apache2” within the record, as that’s the net server that was put in earlier. Then, spotlight the “OK” possibility and press Enter to proceed.


Step 4: After choosing an online server, PhpMyAdmin will present you one other immediate. This immediate says, “The phpmyadmin package must have a database installed and configured before it can be used. This can be optionally handled with dbconfig-common.”
If you’re proficient in databases on Ubuntu Server, be at liberty to choose the “No” possibility and configure it later. In any other case, select the “Yes” possibility to have the installer do it routinely.

Step 5: After telling PhpMyAdmin to create the database, you will need to present an software password. Within the immediate, write in a safe, memorable password.

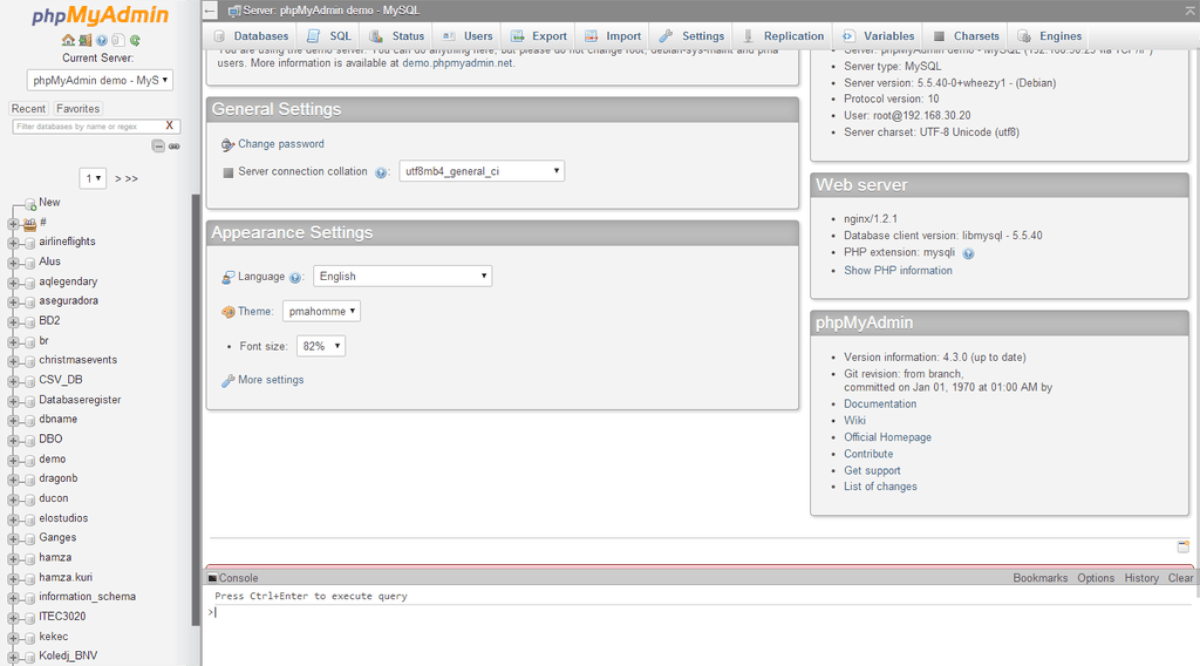
Upon including a password to the database, the PhpMyAdmin installer will end up the set up. When it’s completed, it is possible for you to to entry the PhpMyAdmin software by pointing your favourite net browser to the URL beneath.


