

OSMC is a media participant working system based mostly on the Kodi media middle. Its function is to make a simple to use, simple to perceive leisure interface for watching TV, Films, and different kinds of media. Presently, OSMC is supported on Raspberry Pi, PC, and different kinds of {hardware}. On this information, we’ll go over how to arrange OSMC on Raspberry Pi.
Obtain OSMC for Raspberry Pi
OSMC for Raspberry Pi have to be downloaded from the developer’s web site earlier than it may be arrange on an SD card. To get your copy of OSMC for the Raspberry Pi, head over to the official website, click on on “Download,” and discover the discharge for the Raspberry Pi you employ.
Be aware: OSMC doesn’t but help the Raspberry Pi 4. As of now, the OS solely helps Raspberry Pi 1,2,3, and Zero.
Don’t need to go to the official web site to obtain OSMC to your pc? Should you’re downloading the OSMC picture on a Linux PC, open up a terminal window by urgent Ctrl + Alt + T or Ctrl + Shift + T on the keyboard. Then, use the wget downloading instrument to seize the OSMC launch picture by means of the command-line.
Pi 2/3/3+
cd ~/Downloads
wget
Pi 1/Zero/Zero Wi-fi
cd ~/Downloads
wget
After downloading your copy of OSMC to your pc, don’t extract the TarGZ archive. As a substitute, preserve it within the file and transfer on to the following step within the setup course of.
Install OSMC on SD Card
To arrange OSMC on an SD card, you have to burn the information to an SD card. To burn an SD card on a pc, you’ll want to obtain an SD card imaging instrument.
There are a lot of good SD card imaging instruments out there to use. On this information, we’ll use Etcher, because the app works on Mac, Linux, and Home windows. Additionally, it’s useless easy to use, that means anybody can work out how to use it.
To create your OSMC SD card, observe the step-by-step directions beneath.


Step 1: Head over to Etcher.io, to obtain the Etcher SD/USB imaging software to your Linux, Mac or Home windows pc, and install the appliance.
Step 2: Launch the Etcher software on your pc desktop. Then, when the app is open, plug in your SD card into the reader port.
Step 3: Discover the “Select image” button within the Etcher software and click on on the button. Choosing this button will open up the file browser dialog. Use the file browser to discover the OSMC TarGZ picture file you downloaded beforehand, and click on on it to load it into Etcher.
Step 4: Click on on the “Select drive” button. Then, use the Etcher UI to choose your SD card in order that the Etcher software will use it because the imaging gadget.
Step 5: Discover the “Flash!” button, and click on it with the mouse. This button will begin the SD card imaging course of. Be affected person!
When Etcher is completed, safely eject the SD card out of your Home windows, Linux, or Mac pc. Then, plug within the SD card into the Raspberry Pi, energy it on, and observe the steps beneath to learn the way to arrange OSMC.
Arrange OSMC on Raspberry Pi
Organising OSMC on the Raspberry Pi is a really simple course of, thanks to its streamlined set up wizard. To get it going, observe the steps beneath.


Step 1: On the “Welcome” display screen, you’ll want to choose your language. Utilizing your mouse, distant, or one other pointing gadget, choose the language you would like the OSMC interface use.


Step 2: On the following web page, OSMC will ask you to set the gadget title. Choose “current name” and alter it from “osmc” to no matter you’d like to name your new Raspberry Pi-powered media gadget. Then, click on the “Accept” button to proceed.


Step 3: Following the “hostname” part, OSMC will ask when you’d like to allow SSH help. This characteristic will enable you to entry your Raspberry Pi 3 media service remotely. Examine the field if you would like this characteristic. In any other case, skip it and click on “Accept.”


Step 4: After the “SSH” part, OSMC will current a software program license on the display screen. Learn by means of it, and click on “Continue” to settle for it.


Step 5: Within the “Networking” part, after the software program license, OSMC will ask to arrange a community. Utilizing the interface, configure your community connection. If the connection fails, you might want to do that manually at a later time.

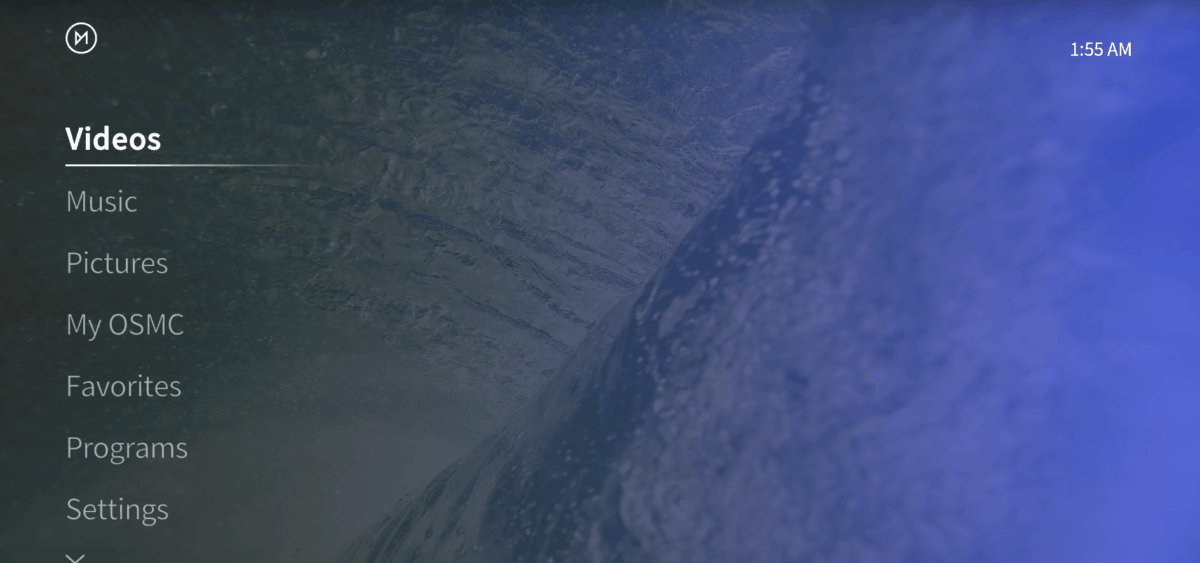
Step 6: As soon as the OSMC set up is linked to the web, you’ll be introduced to the “Look + Feel” space. Right here, you’ll be instructed to select the OSMC pores and skin that you just like finest.


Step 7: With the pores and skin chosen, OSMC will ask when you’d like to join the e-newsletter. Choose “no thanks.” Or, when you’d like to sustain with OSMC growth, select the “Sure, sign me up”choice.


After coping with the e-newsletter settings, OSMC will load up and be prepared to use!


