

In Microsoft Workplace, you may add instructions and tabs to your ribbon through the use of the custom-made ribbons settings. When individuals insert footage into their paperwork, a Image Format tab will seem that enables them to customise their footage and even take away the background of the images, however what if you would like to take away a background of a photograph with out happening the Image Format tab? In Microsoft Word, an individual can add a Background Removal tab to their ribbon, which of all of the options supplied removes the background. On this tutorial, we are going to clarify how to insert and use a Background Removal tab in Word.
How to insert and use Background Removal in Word
Comply with the steps beneath to insert a Background Removal tab in Word:
- Launch Microsoft Word.
- Click on File.
- Click on Choices on the backstage view.
- Choose All tabs from the Select Command From checklist.
- Scroll down till you see the Background Removal tab, then click on the Add button.
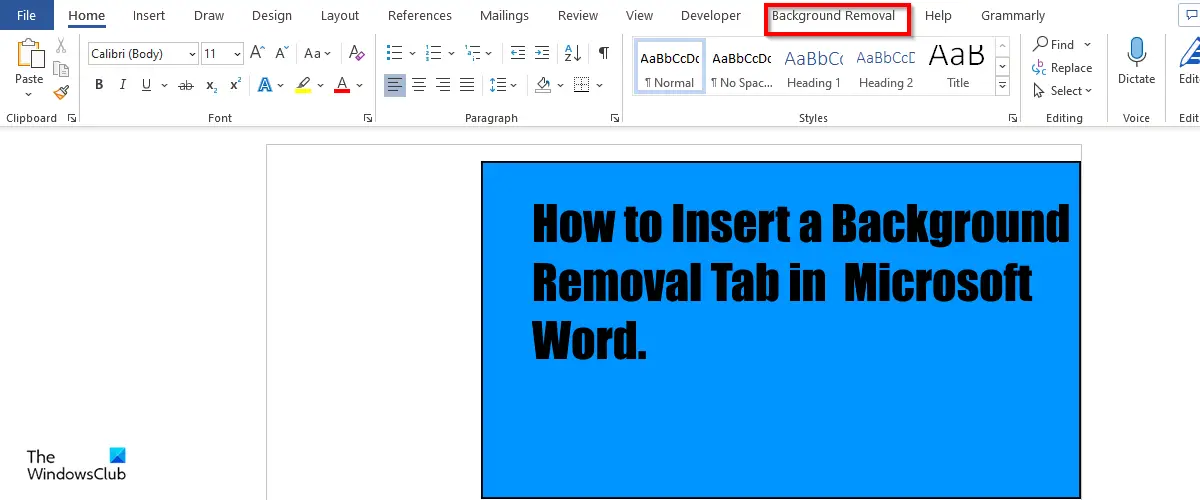
- The Background Removal tab is in your Word Ribbon.
Launch Microsoft Word.
Click on the File tab.
On the left pane, click on Choices on the backstage view.
An Outlook Choices dialog field will open.


Choose All tabs from the Select Command From checklist.
On the best of the dialog, you may choose which tab you need the Background Removal tab to come after (optionally available). On this tutorial, we chosen the Developer tab.
Again in the checklist of the Important tabs, scroll down till you see the Background Removal tab, and then click on the Add button.
Then click on OK.
Now look in your ribbon to see the Background Removal tab.
How do you take away background in Word?
Comply with the steps beneath to take away a background from an image in Microsoft Word:
- Choose the image, then go to the Format tab.
- Choose the Take away Background button.
- It’s going to now open on the Take away Background window.
- You will note among the areas in your image are marked with magenta.
- Mark the areas to preserve with the Mark Areas to Maintain button.
- Mark the areas to take away with the Mark Areas to Take away button.
- If you’re glad together with your outcomes, click on the Maintain adjustments button.
- The modified picture will seem in your doc.
How do you set a background on Microsoft Word?
Comply with the steps beneath to insert a background on Microsoft Word doc:
- Click on the Web page Format tab.
- Click on the Watermark button in the Web page Background group.
- Within the Printed Watermark dialog field, click on Image Watermark.
- Then click on the Choose Image button.
- Within the Insert Image dialog field, choose an image.
- Then click on Insert.
- Again in the Printed Watermark dialog field, choose the utmost Scale and uncheck the Washout test field and then choose the Washout.
- Then click on the Apply button, then choose the Shut button.
- The background picture is inserted into your Word doc.
How do I take away textual content background in Word?
Comply with the steps beneath to take away a textual content background in Word:
- Kind the textual content into the Word doc.
- Then spotlight the textual content and choose the Font Coloration button in the Font group.
- Choose the White shade from the menu.
We hope this tutorial, will provide help to to perceive how to insert & use the Background Removal tab in Word.


