

Many Ubuntu Linux customers select to dual-boot the Linux-based working system with Microsoft Windows 10, both by deciding on it during the set up when establishing Ubuntu or after the actual fact, by loading it up with Grub.
More often than not, Ubuntu can detect and arrange Microsoft Windows 10 routinely, with no fuss in any respect. Nonetheless, in some uncommon circumstances, the Ubuntu Linux working system can’t discover Windows 10 and trigger issues for these making an attempt to arrange a dual-boot.
If you happen to’re making an attempt to arrange Ubuntu Linux and Windows 10 on the identical system, and you may’t determine why Ubuntu gained’t detect it, we might help. Right here’s to how to fix Ubuntu not detecting Windows 10!
Fix Ubuntu not detecting Windows 10 during set up
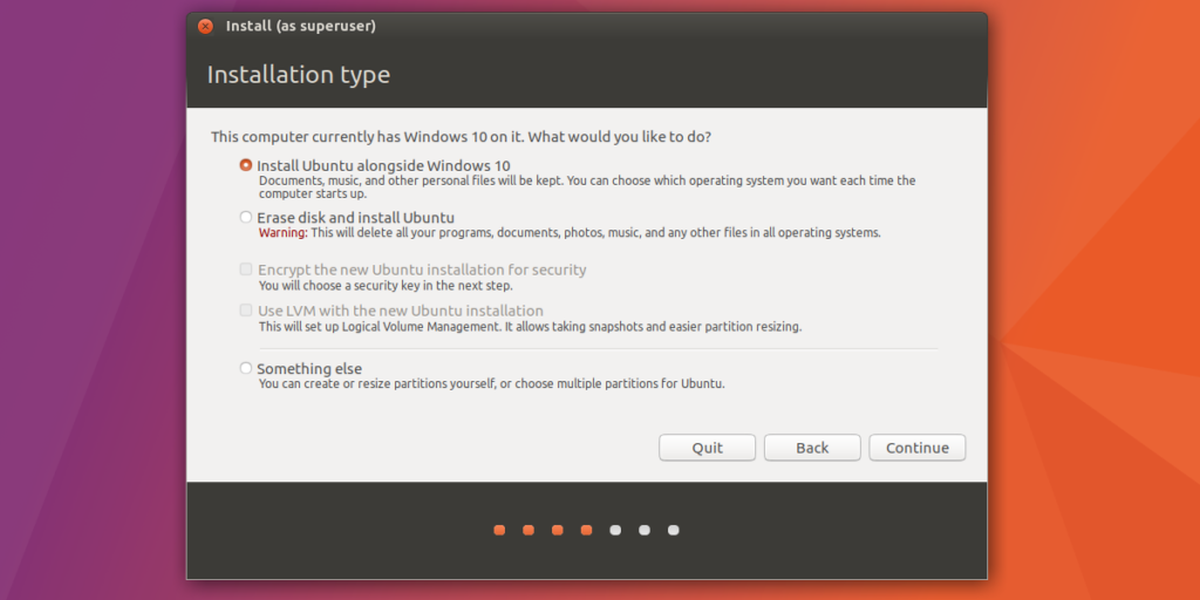
The Ubuntu set up instrument scans for various working programs during the set up. Normally, a separate laborious drive working Windows 10, or a Windows 10 partition is routinely detected with Os-Prober, a complicated working system scanning instrument. If Windows 10 isn’t acknowledged, it doubtless implies that Windows 10 wasn’t shut down accurately and wishes some fast upkeep earlier than the Ubuntu installer can be ready to see it.
Shut the Ubuntu Linux set up instrument and reboot into your Windows 10 PC. From there, comply with the step-by-step directions to clear your Windows 10 set up.
Step 1: Upon logging into Windows 10, make your means to the “My Computer” part and find the principle “C:” laborious drive.
Step 2: Proper-click on the “C:” laborious drive with the mouse, find the “Properties” choice and choose it to open up the C: drive’s settings space.
Step 3: Within the settings space, discover “Tools” and choose the “Check” button beneath “Error checking.”
Step 4: Choosing “Check” will inform Windows 10 to routinely scan the C: drive for errors, and fix them in the event that they’re current.
Step 5: Open up the Windows 10 Command-prompt window within the app menu. Then, as soon as the “Command Prompt” app reveals up within the menu, right-click on it and choose “Run as administrator.”
Step 6: When the Consumer Account Management immediate opens up on the display screen, saying, “Do you want to allow this app to make changes to your device,” choose “Yes.” Selecting “Yes” offers you entry to a command immediate window with system-level entry.
With the command line open, run the chkdsk command under. Understand that this could solely be run if the “Error checking” scan in step 4 discovered no errors in any respect.
chkdsk C: /F
Step 7: After working the chkdsk command, a immediate will seem within the command-line, letting you understand you want to reboot to run the command. Choose “Y” to restart.
Step 8: Let the chkdsk command run. When it finishes working, boot into Windows 10.
When you’ve loaded Windows 10 again up, click on “Shutdown” to flip it off safely. Then, plug within the Ubuntu USB stick, and boot to it to re-try putting in Ubuntu. The set up app ought to now detect Windows 10 within the set up course of.
Fix Ubuntu not detecting Windows 10 after Ubuntu is put in
Not each person that intends to dual-boot Windows 10 and Ubuntu plans to install the working programs on the identical laborious drive. Many Linux customers have two laborious drives: one for Linux and one for Windows 10.
If you happen to’ve put in Ubuntu onto your PC, the Ubuntu installer ought to detect the Windows 10 laborious drive routinely. If it doesn’t, right here’s how to fix it.
Step 1: Boot into Ubuntu Linux in your PC. As soon as booted, open up a terminal window by urgent Ctrl + Alt + T or Ctrl + Shift + T on the keyboard.
Step 2: Use the lsblk command to detect what your Windows PC’s drive label is, in addition to the partition names. On this instance, it will likely be “/dev/sdb”, and the partitions we’ll work with are “/dev/sdb1”, “/dev/sdb2”, “/dev/sdb3”, and “/dev/sdb4”.
Step 3: Run the fsck instrument on every of the partitions on the Windows 10 drive to clear out any soiled bits on the drive. Make certain to change every occasion of “/dev/sdb” along with your precise Windows 10 partition names.
sudo fsck -y /dev/sdb1
sudo fsck -y /dev/sdb2

sudo fsck -y /dev/sdb3

sudo fsck -y /dev/sdb4
Step 4: Install the Os-prober bundle to Ubuntu Linux utilizing the Apt command under.
sudo apt install os-prober
Step 5: Within the terminal, utilizing the update-grub command, power Ubuntu to manually replace your bootloader.
sudo update-grub
Step 6: Watch the terminal immediate, and ensure that Ubuntu detects Windows 10. You’ll know Os-prober works when you see it within the output. If the update-grub command doesn’t acknowledge your Windows 10 laborious drive, the fsck command could not be sufficient. Contemplate booting into the Windows 10 drive along with your BIOS, run chkdsk, after which re-run the update-grub command.
Step 7: Reboot your Ubuntu set up. Through the boot course of, check out the Grub bootloader. If the method is profitable, Ubuntu may have detected Windows 10 and added it as a boot choice!


