

Are you an avid Thunderbird e-mail consumer on Ubuntu? Have you ever ever tried to import a Thunderbird e-mail profile from a backup to a brand new Ubuntu set up, solely to discover out that it gained’t launch? Because it seems, this error happens when the Thunderbird profile was created on a version of the app that’s newer than the Thunderbird shopper that’s put in on Ubuntu. On this information, we’ll go over how one can fix this Thunderbird profile error in Ubuntu so as to entry your emails.
Word: though this information focuses on Ubuntu, it is usually potential to fix this Thunderbird error with the directions outlined under in all derivatives of Ubuntu, equivalent to Linux Mint, Elementary OS, Zorin OS, and lots of others. Be happy to comply with alongside in case you are having this difficulty!
Choice 1 – Updating Thunderbird to the newest launch


The quickest approach to resolve the issue of Thunderbird producing this profile error is to merely replace it to absolutely the latest potential version in order that the error now not happens. To replace Thunderbird, begin by opening up a terminal window by urgent Ctrl + Alt + T or Ctrl + Shift + T on the keyboard. Then, comply with the step-by-step directions under.
Step 1: Ubuntu Linux has a comparatively current launch of Thunderbird, but it surely isn’t the latest round. Subsequently, you will need to add in the Mozilla Safety PPA to get contemporary updates.
So as to add the Mozilla Safety PPA to Ubuntu, use the next add-apt-repository command under in a terminal window.
sudo add-apt-repository ppa:ubuntu-mozilla-security/ppa
Step 2: As soon as the brand new Mozilla Safety PPA is added to your Ubuntu Linux PC, you’ll need to refresh the software program sources on the system. To replace the software program sources, make use of the replace command under in a terminal window.
sudo apt replace
Step 3: Following the replace, it’s best to see Ubuntu’s bundle supervisor let you realize that there are updates obtainable for Thunderbird prepared to set up from the PPA. To put in these updates, run the next improve command in the terminal.
sudo apt improve -y
When Thunderbird is up to date, launch it by trying to find “Thunderbird” in your app menu. If this system opens up accurately, the error is resolved.
For those who nonetheless face an error even after upgrading Thunderbird, your current Thunderbird e-mail profile can’t be saved. Sadly, you’ll need to comply with Choice 2 in the information to create a brand new Thunderbird e-mail profile on the system.
Choice 2 – Create a brand new Thunderbird profile and re-login
Often, upgrading the Thunderbird e-mail shopper on Ubuntu to the newest launch is sufficient to fix the profile error. Sadly, typically upgrading doesn’t work and the error persists. Fortunately, it’s potential to delete this previous Thunderbird profile and begin contemporary with a brand new one. Observe the step-by-step directions under to find out how to create a brand new profile.
Step 1: Very like Firefox, the Thunderbird e-mail shopper has numerous command-based launch choices that permit customers to achieve entry to the extra superior capabilities, together with the Thunderbird Profile Supervisor.
To entry the Thunderbird Profile Supervisor, press Alt + F2 on the keyboard. By urgent this keyboard mixture, you will note the quick-launch bar on the desktop. From there, enter the command under and press Enter on the keyboard to execute it.
thunderbird --ProfileManager
Step 2: Inside the Thunderbird Profile Supervisor window, you will note your e-mail profile, together with every other e-mail profiles that could be on the system however should not in use. At this level, we should delete each single considered one of these profiles.


To delete the profiles from Thunderbird with the profile supervisor, choose it with the mouse. Then, after choosing the profile, find the “Delete” profile button, and click on on it to delete it. Do that for every profile.
Step 3: Find the “Create Profile” button and click on on it with the mouse. After choosing the “Create Profile” button, the “Create Profile Wizard” window will seem. Learn the message it shows and choose the “Next” button to transfer to the subsequent web page.


Step 4: After choosing subsequent, you may be requested to title your new Thunderbird profile. To call it, discover the field underneath “Enter new profile name” and alter the title from “Default User” to no matter you need.


Step 5: Choose the “Finish” button in the “Create Profile Wizard” to finalize the creation of the brand new profile.
Step 6: Within the Thunderbird Profile Supervisor, click on in your newly created profile. Then, examine the field subsequent to “Use the selected profile without asking at startup” to make sure that your new profile is the default.
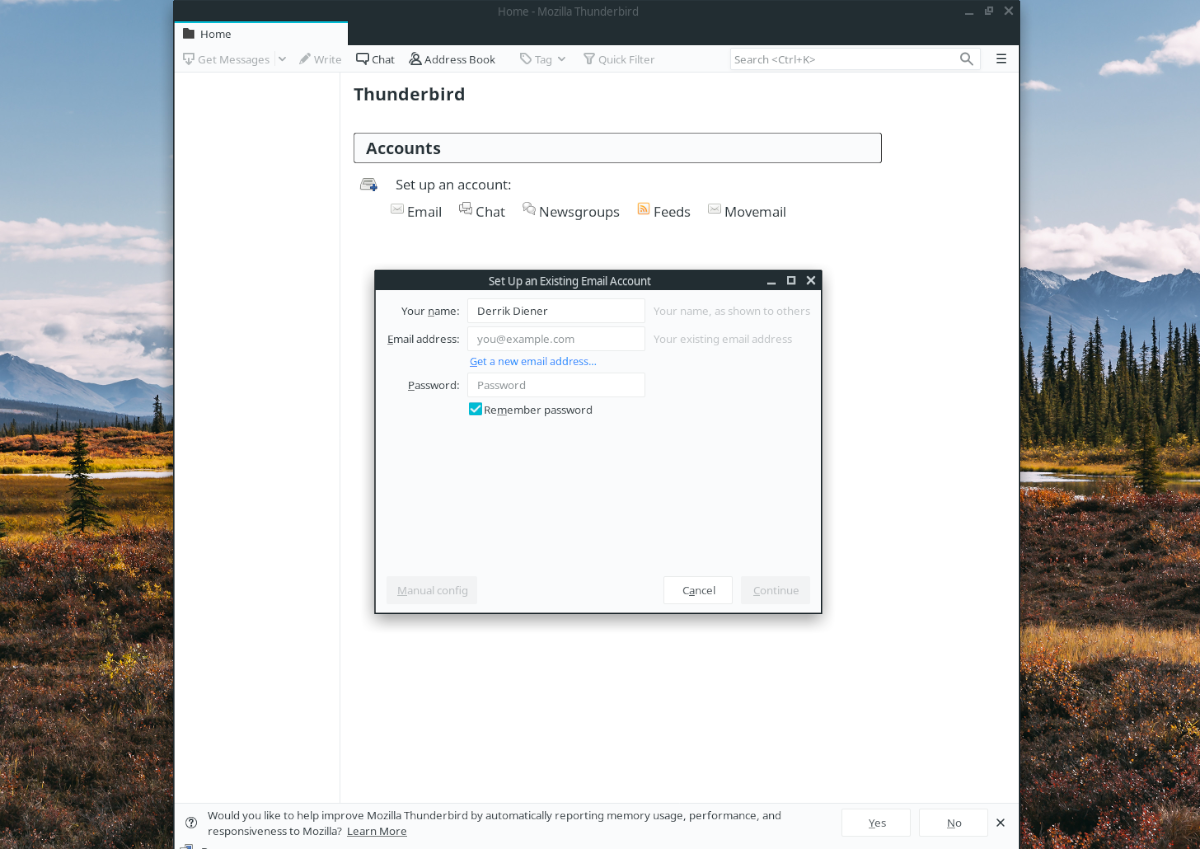
Step 7: Click on the “Start Thunderbird” button to begin up your newly created profile. As soon as Thunderbird is launched, a instrument will seem on the display screen. Use it to log into your e-mail account to obtain all your emails, and so forth.


With Thunderbird logged in to your e-mail account, you’ll now not be experiencing the profile error on Ubuntu!


