

In case your lookup vary and lookup worth are saved in completely different Excel workbooks, then don’t fear about it as a result of VLOOKUP can get issues achieved with ease. Now, if you want to VLOOKUP workbooks by way of Excel On-line, nicely, you received’t discover a lot luck right here.
On the finish of the day, whereas Excel On-line is a worthy product, it lacks most of the superior options discovered in the desktop model of the favored spreadsheet utility. Should you do not have Excel put in in your pc, then we recommend subscribing to Workplace 365 instantly.
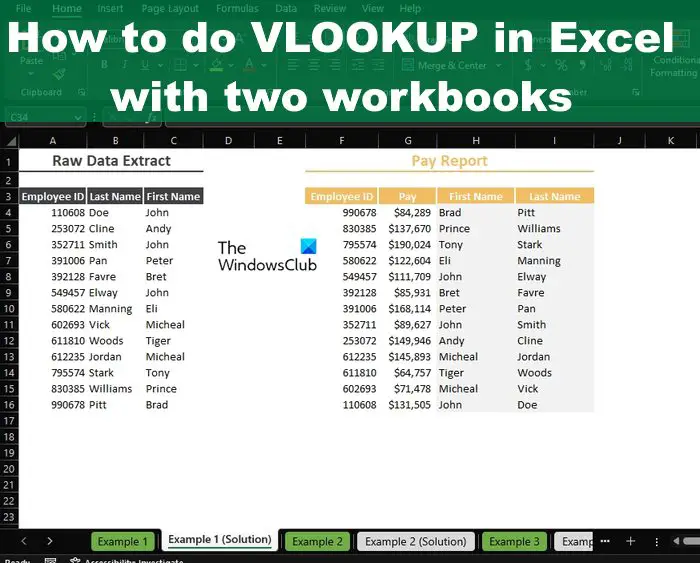
How to do VLOOKUP in Excel with two sheets
To make use of VLOOKUP to discover information in one other Excel workbook requires a number of workbooks’ related information. After you have them, observe these steps.
- Open the Excel app
- Open the related Excel doc
- Add information for reference
- Add system and choose information
- Go to the workbook with the information
- Choose the information you need to search by way of
- Add system
- Discover the related values from different workbooks
1] Open the Excel app
The very first thing you must do earlier than something is to open the Microsoft Excel utility.
You’ll be able to do this by clicking on the Excel icon positioned on the desktop.
Alternatively, you possibly can open it by going to the All Apps part.
2] Open the related Excel doc


Make sure that this doc incorporates two or extra workbooks.
A number of with the information you need to discover, and the opposite would be the main workbook.
3] Add information for reference
Within the main workbook, you will need to add information for reference should you haven’t already.
As you possibly can see from the image, our reference information has already been included.
4] Add system and choose information


The subsequent step is to add the system wanted to get issues shifting in the precise path.
Go forward and kind, =VLOOKUP(
From there, you will need to now click on on the related information to have it included in the system, then add a comma.
So, should you determined to go with A4, then the system will seem like this: =VLOOKUP(A4
5] Go to the workbook with the information
After you’ve typed the system as above, you will need to now transfer over to the workbook that incorporates the information you need to search by way of.
Go to the very backside of your workbook and choose the related tab.
6] Choose the information you need to search by way of
From throughout the newly chosen workbook, please spotlight the information you need to search by way of.
It may be all the pieces or only a chosen few, it doesn’t matter.
7] Add to the system
The subsequent step proper after deciding on the information you need to work with, is to kind a comma.
So, your system ought to lengthen to seem like the next:
=VLOOKUP('Instance 1'!A4,'Instance 1 (Answer)'!A2:I16,
8] Discover the related values from different workbooks


Lastly, we’re going to find the values from the workbook with the information for show in the first workbook.
To do this, you will need to decide which column of knowledge have to be proven.
As you possibly can see, we now have gone with column quantity 5, so the ultimate system ought to look comparable to the next:
=VLOOKUP('Instance 1'!A4,'Instance 1 (Answer)'!A2:I16,8)
The data from column 5 of the workbook with all the information ought to now be seen in the first workbook.
READ: How to take away Numbers in Excel from the left
Are you able to do a VLOOKUP between two workbooks?
Sure, you possibly can do this. Of us usually accomplish this activity for the aim of protecting issues organized in separate workbooks. That is made simple due to VLOOKUP and what it’s able to doing.
Why is VLOOKUP not working in two completely different workbooks?
You want to make sure the exterior references that hyperlink one workbook to one other workbook are appropriate. Moreover, you will need to confirm the system in use incorporates the total path, or there shall be issues with the top outcomes.


