

The Ghost running a blog platform is great for brand spanking new customers trying to host their very own software program, because of its computerized set up script. Sadly, there isn’t a computerized backup script. Consequently, many Ghost installations go with out backups. A simple method to backup a Ghost weblog is to make use of the built-in backup supervisor. Whereas it’s true that this technique isn’t as thorough and gained’t give as a lot freedom, it’s helpful in a pinch.


To backup a Ghost weblog from the Ghost interface, open up a brand new browser tab, and go to the next URL:
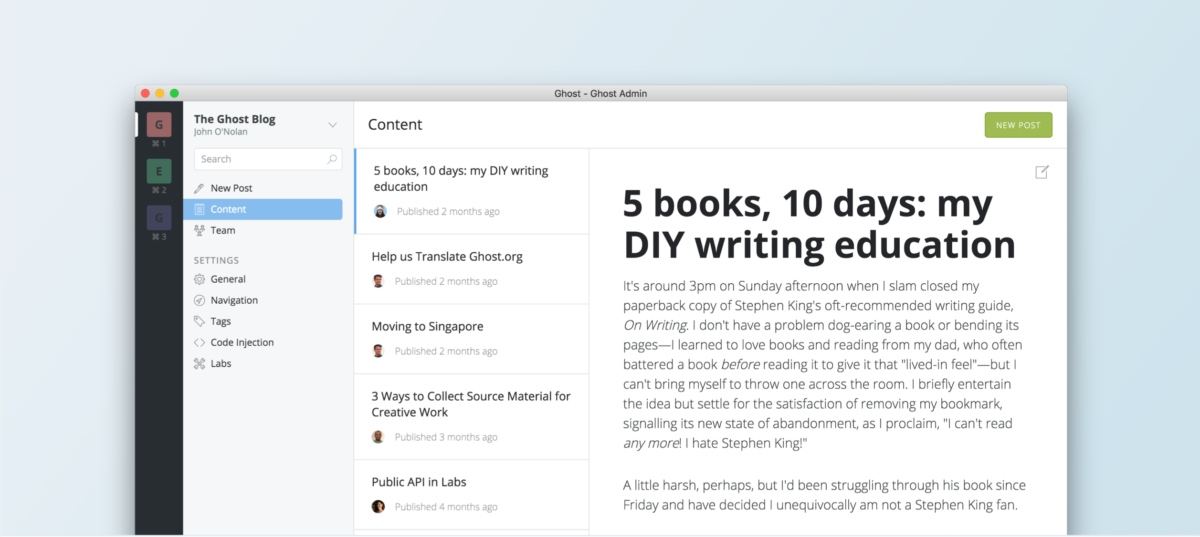
On the Labs web page within the Ghost net interface, search for the “Export” button and choose it. Clicking Export will can help you make a backup of the complete weblog. To restore such a backup at a later date, go to the identical URL, click on “Import”, browse for the backup and cargo it up. Quickly after importing, settings and knowledge ought to be again the best way it was once you first backed it up.
Command-line Backup
Ghost has a good backup software constructed into its software program, however it doesn’t supply up the identical sort of safety, automation, and freedom that may come from a backup by way of the Linux command line. To backup a Ghost weblog on a Linux host, create a brand new folder. This folder will maintain the entire essential backup recordsdata and knowledge pertaining to Ghost.
Within the server terminal, use the mkdir command to create a brand new folder. Don’t do that as Root!
mkdir -p ~/ghost-blog-backup
mkdir -p ~/ghost-blog-backup/sql
Working mkdir creates a brand new listing within the /residence/ folder of the consumer presently logged in. It is a good location to carry backup recordsdata, as they gained’t get misplaced in random areas on the Linux file system.
Subsequent, use sqldump to export the Ghost SQL database.
Observe: write Root in “username” and the title of the database given to Ghost through the set up.
mysqldump -u username -p databasename > db.ghost_blog.sql
Enter the Ghost listing utilizing the CD command.
cd /var/www/ghost
Within the Ghost software program listing, execute ghost cease to show off the Ghost software program.
ghost cease
With the server software program turned off, it’s protected to make a whole copy of the whole lot to ~/ghost-blog-backup.
cp -rp /var/www/ghost/* ~/ghost-blog-backup
Working the CP command with the RP flags will guarantee all permissions set by the Ghost set up software program keep intact. From right here, use CD to maneuver out of /var/www/ghost, and again to /residence/username.
cd ~/
Compress Backup
The entire essential Ghost weblog recordsdata are in ~/ghost-blog-backup, with their permissions intact. The subsequent step is to compress these recordsdata right into a single Tar archive. Making a Tar archive of Ghost makes it a lot simpler to move backups off of servers, load to locations like Dropbox, NextCloud, or share with co-workers.
To create a brand new compressed archive of the Ghost backup, use the tar command in terminal.
Observe: make sure you copy the command precisely. Failing to take action could fail to protect file permissions through the compression course of!
tar -zcvpf ghost-blog-backup.tar.gz /residence/username/ghost-blog-backup
Encrypt Backup
The subsequent step within the backup course of is a essential one. With out this step, your Ghost weblog’s database, essential system recordsdata, and extra are uncovered and accessible to anybody that may entry the place you’ve saved the Tar archive. Fortunately, it’s very straightforward to encrypt a Tar archive on Linux.


The quickest method to encrypt from the Linux command line is to make use of GnuPG. To encrypt, be certain that “gpg” is put in. From there, run the next command:
sudo gpg -c ghost-blog-backup.tar.gz
Working gpg with the c flag will immediately begin the encryption course of. When the method finishes, the tip result’s ghost-blog-backup.tar.gz.gpg.
Now that the backup is encrypted with GPG, it’s protected to delete the unencrypted Tar archive. To delete it, use the rm command.
rm ghost-blog-backup.tar.gz
Restore Backup
Restoring a Ghost backup on a brand new system begins by decrypting the backup. Transfer ghost-blog-backup.tar.gz.gpg to /residence/username/ on the server and decrypt with:
gpg ghost-blog-backup.tar.gz.gpg
Subsequent, extract the unencrypted archive.
tar -xvpf ghost-blog-backup.tar.gz
Utilizing CD, transfer the terminal into the SQL folder and use the mysqldump command to revive the database.
cd ~/ghost-blog-backup/sql

sudo -s

mysqldump -u username -p databasename <  db.ghost_blog.sql
rm -rf /residence/username/ghost-blog-backup/sql
After restoring the database, transfer the system recordsdata into place, with CP.
cp -rp /residence/username/ghost-blog-backup/* /var/www/
As soon as the whole lot is restored, re-install Ghost-cli with NPM.
Observe: it’s possible you’ll have to re-install NodeJS, Yarn, and many others. Confer with our tutorial for assist right here.
sudo npm i -g ghost-cli
Lastly, begin the Ghost server software program up with:
ghost begin
Working the ghost begin command ought to immediately activate the Ghost running a blog service on the server.


