

For brand new Linux customers, it may be a bit formidable to again up your Linux set up. Many articles go over establishing difficult command-line based mostly techniques, persuade customers to buy costly cloud storage, or outright inform customers to only get extra laborious drive area. There’s a neater approach: Gnome Disk Utility.
SPOILER ALERT: Scroll down and watch the video tutorial on the finish of this text.
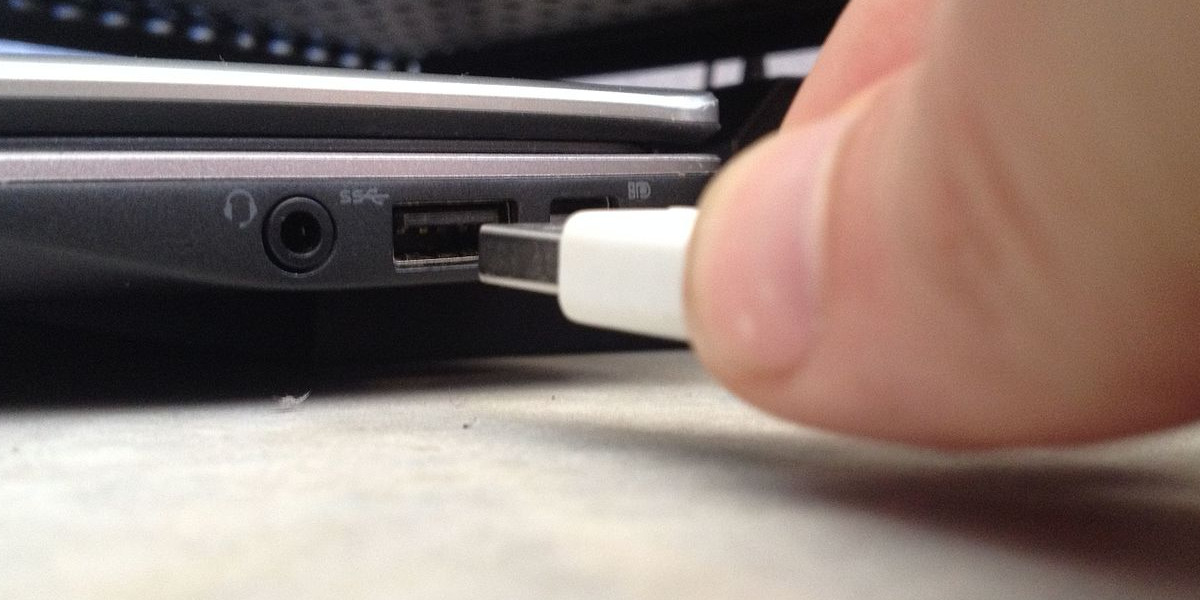
Gnome disks is part of the Gnome desktop setting. With this device, customers can create uncooked backup photographs of laborious drives, particular person partitions, USB gadgets, and even SD playing cards. Moreover, it’s attainable to check laborious drives with a S.M.A.R.T. take a look at. That is nice as a result of it’ll let you already know when a drive is about to fail. It additionally shows temperature readouts too. This info is nice and makes it so customers usually tend to need to backup their knowledge. You should use it to again up your Linux set up with out leaping via hoops.
Putting in Gnome Disks
Gnome Disks might be already put in if Gnome is in your Linux desktop, because it is likely one of the most used laborious drive monitoring and backup instruments for Linux. If not, putting in it’s fairly straightforward. Open the Gnome Software program retailer, seek for “Disk Utility”, and set up it. Alternatively, set up it with a command inside a terminal window:
Arch Linux
sudo pacman -S gnome-disk-utility
Ubuntu
sudo apt set up gnome-disk-utility
Debian
sudo apt-install gnome-disk-utility
Fedora
sudo dnf set up gnome-disk-utility
OpenSUSE
sudo zypper set up gnome-disk-utility
In case your Linux distribution is just not listed right here, don’t worry. Gnome may be very, extremely popular. Consider the way in which that you simply usually set up software program to your favourite Linux distribution, and seek for “gnome-disk-utility”. This may be performed through the command line and the package deal supervisor, or through an app retailer that your working system comes with.
Backing Up Arduous Drives


Open the disk utilit by looking via your purposes for “disks”. When it’s open, discover that there’s a listing of all related knowledge gadgets. To handle particular person laborious drives, choose one from the listing. Needless to say Gnome disks will permit the person to work with every kind of information storage gadgets. This implies you probably have knowledge to again up, however it’s not a PC laborious drive, this methodology works too. Gnome disks is great for backing up all types of gadgets.
With the laborious drive you need to again up chosen, discover the “hamburger” menu (the menu subsequent to the reduce/maximize window controls) and click on on it. Discover the choice that claims “create disk image” and click on it. This tells Gnome Disk Utility to make a uncooked .IMG file of all the laborious drive. This consists of Bootloaders, partitions, knowledge, and every part else. It’s basically a snapshot of your pc.
Be sure you join a second laborious drive to avoid wasting this file, because the disk picture shall be very giant and won’t save if there isn’t sufficient area. When the disk picture file has saved, Gnome disks will begin backing up the laborious drive. It will take a while. Be affected person.
Backing Up Partitions

The Gnome Disk Utility device permits customers to get actual deep relating to backing up their knowledge. The utility can again up your Linux set up and make uncooked disk picture backups of particular person partitions. First, discover the laborious drive the place you need to again up the info within the listing and click on it. Then, click on the person partition to again up within the graphical overview of the laborious drive.
Spotlight a partition, after which click on on the “additional partition options” button. From right here, click on the choice within the menu that claims “Create Partition Image”. It will immediate the person to discover a place to avoid wasting the person partition picture.
Word: although partitions are sometimes smaller than backing up a whole laborious drive to a disk picture, it’s nonetheless a good suggestion to attach an exterior laborious drive, or USB flash drive to avoid wasting the disk picture for protected retaining.
With the partition picture saved, Gnome Disk Utility begins backing up.
Restoring Arduous Drives

To restore a tough drive picture, open Gnome Disks and choose the laborious drive from the listing. Click on the hamburger menu, and choose the choice to “Restore Disk Image”. Navigate to the place the laborious drive picture was saved in the course of the backup course of, and choose it to start out the restoration course of. Very similar to backing up, restoring it should take a little bit of time.
Restoring Partitions

In Gnome Disks, discover and choose the laborious drive that you simply need to restore knowledge from within the listing. Then click on the “additional partition options” button. Inside this menu, choose “Restore Partition” button. It will open a menu, asking to load the partition disk picture. Open it to start out the restoration course of.

Conclusion
There are numerous methods to backup a Linux set up. There are file-system snapshots, live-disk suites like Clonezilla, and even cloud storage options. All of those are nice, however tedious, and never almost as handy as simply making a direct backup of a partition or laborious drive with the Gnome Disk device. Hopefully, with the assistance of this tutorial, you’ll have realized simply how straightforward it’s to again up your Linux set up.


